Chapter 1
Capture a lead
Add a lead from the driveway in under 30 seconds, then work it through the pipeline.
A lead is a chance to sell a roof. In ShingleSync a lead can start with nothing more than an address: add the homeowner's details when you have them. The lead then moves through your pipeline, stage by stage, until the homeowner signs or you mark it lost.
This manual follows one job from start to finish. Dana and Chris Whitfield called after a hailstorm, and the sales rep adds them from the driveway. (Every person and address in this manual is made up.)
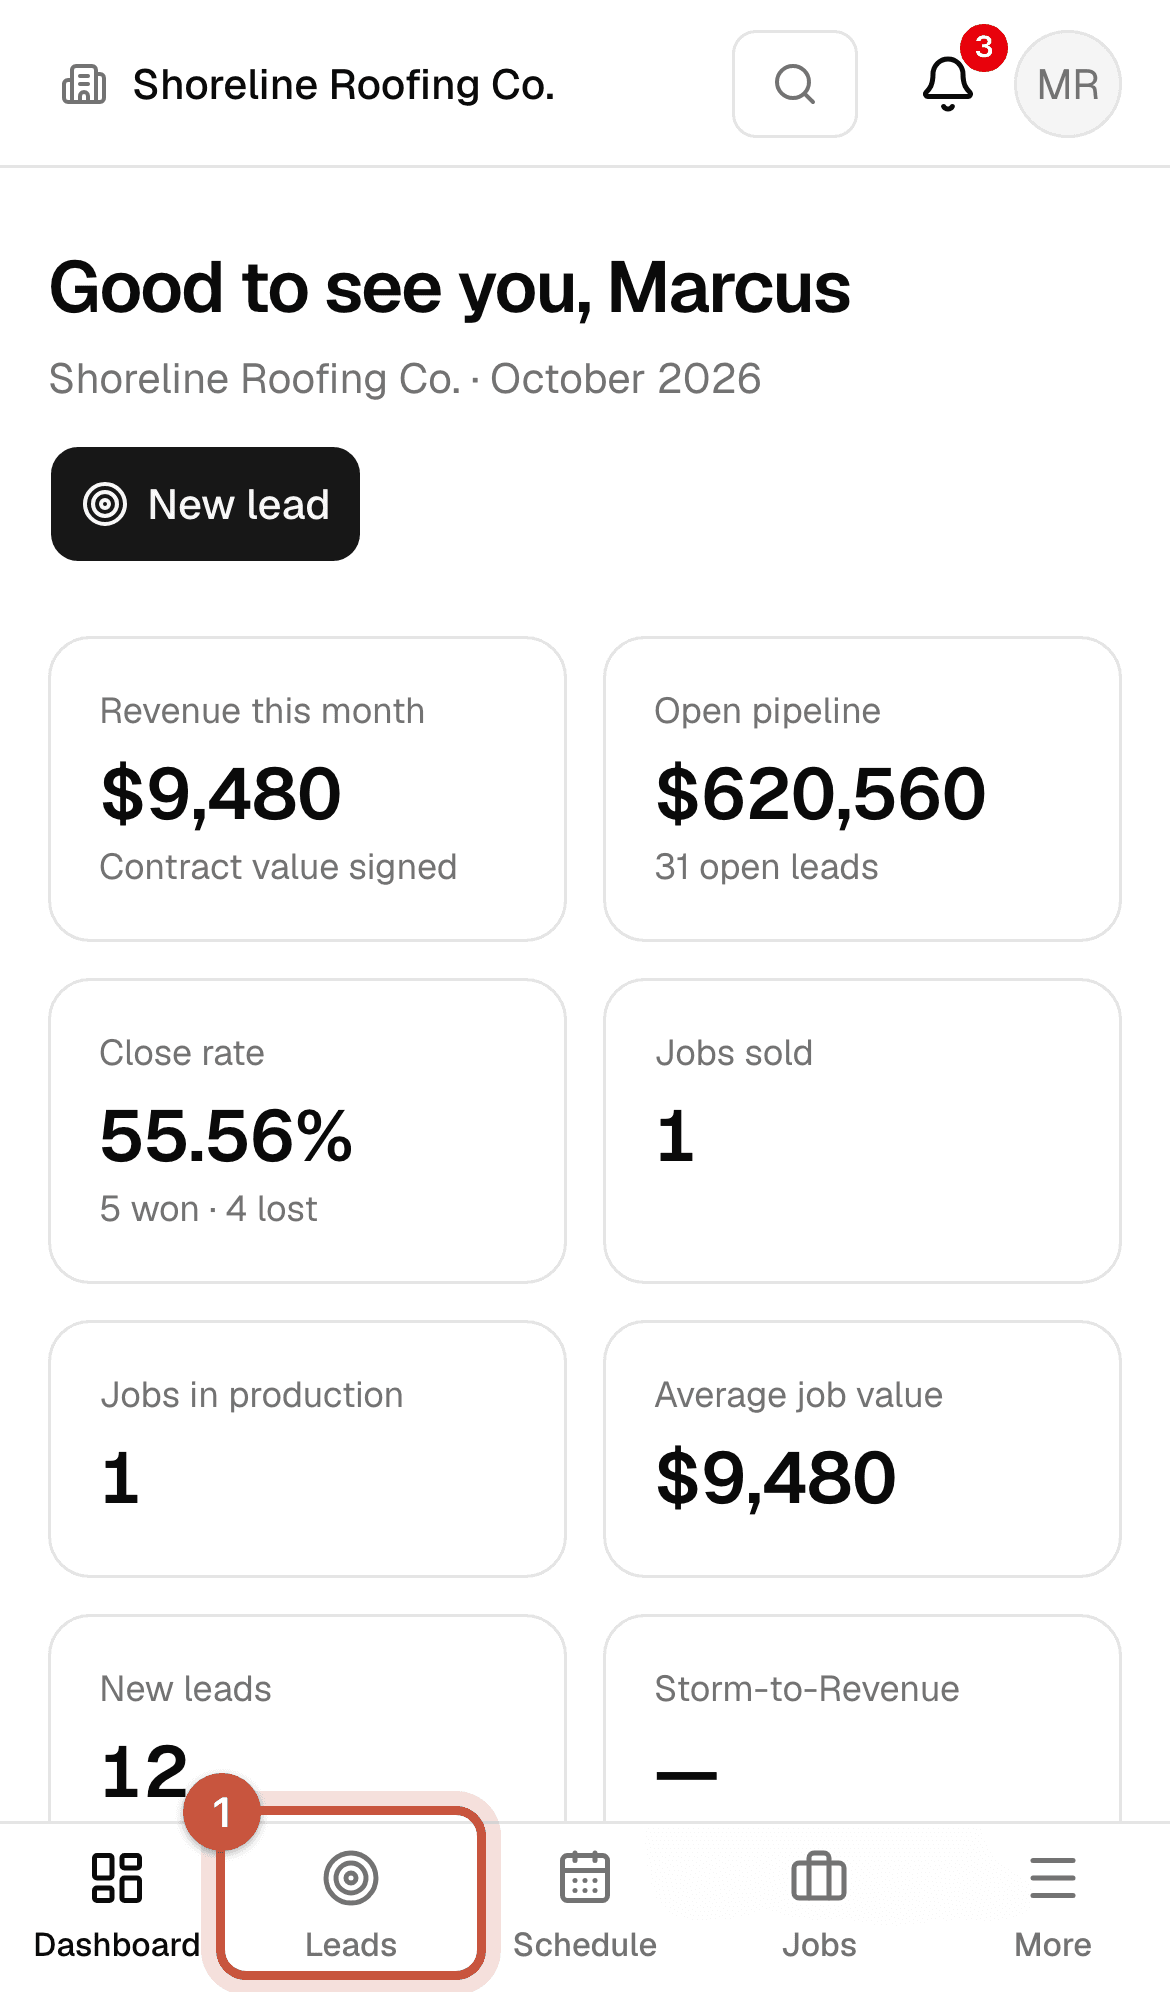
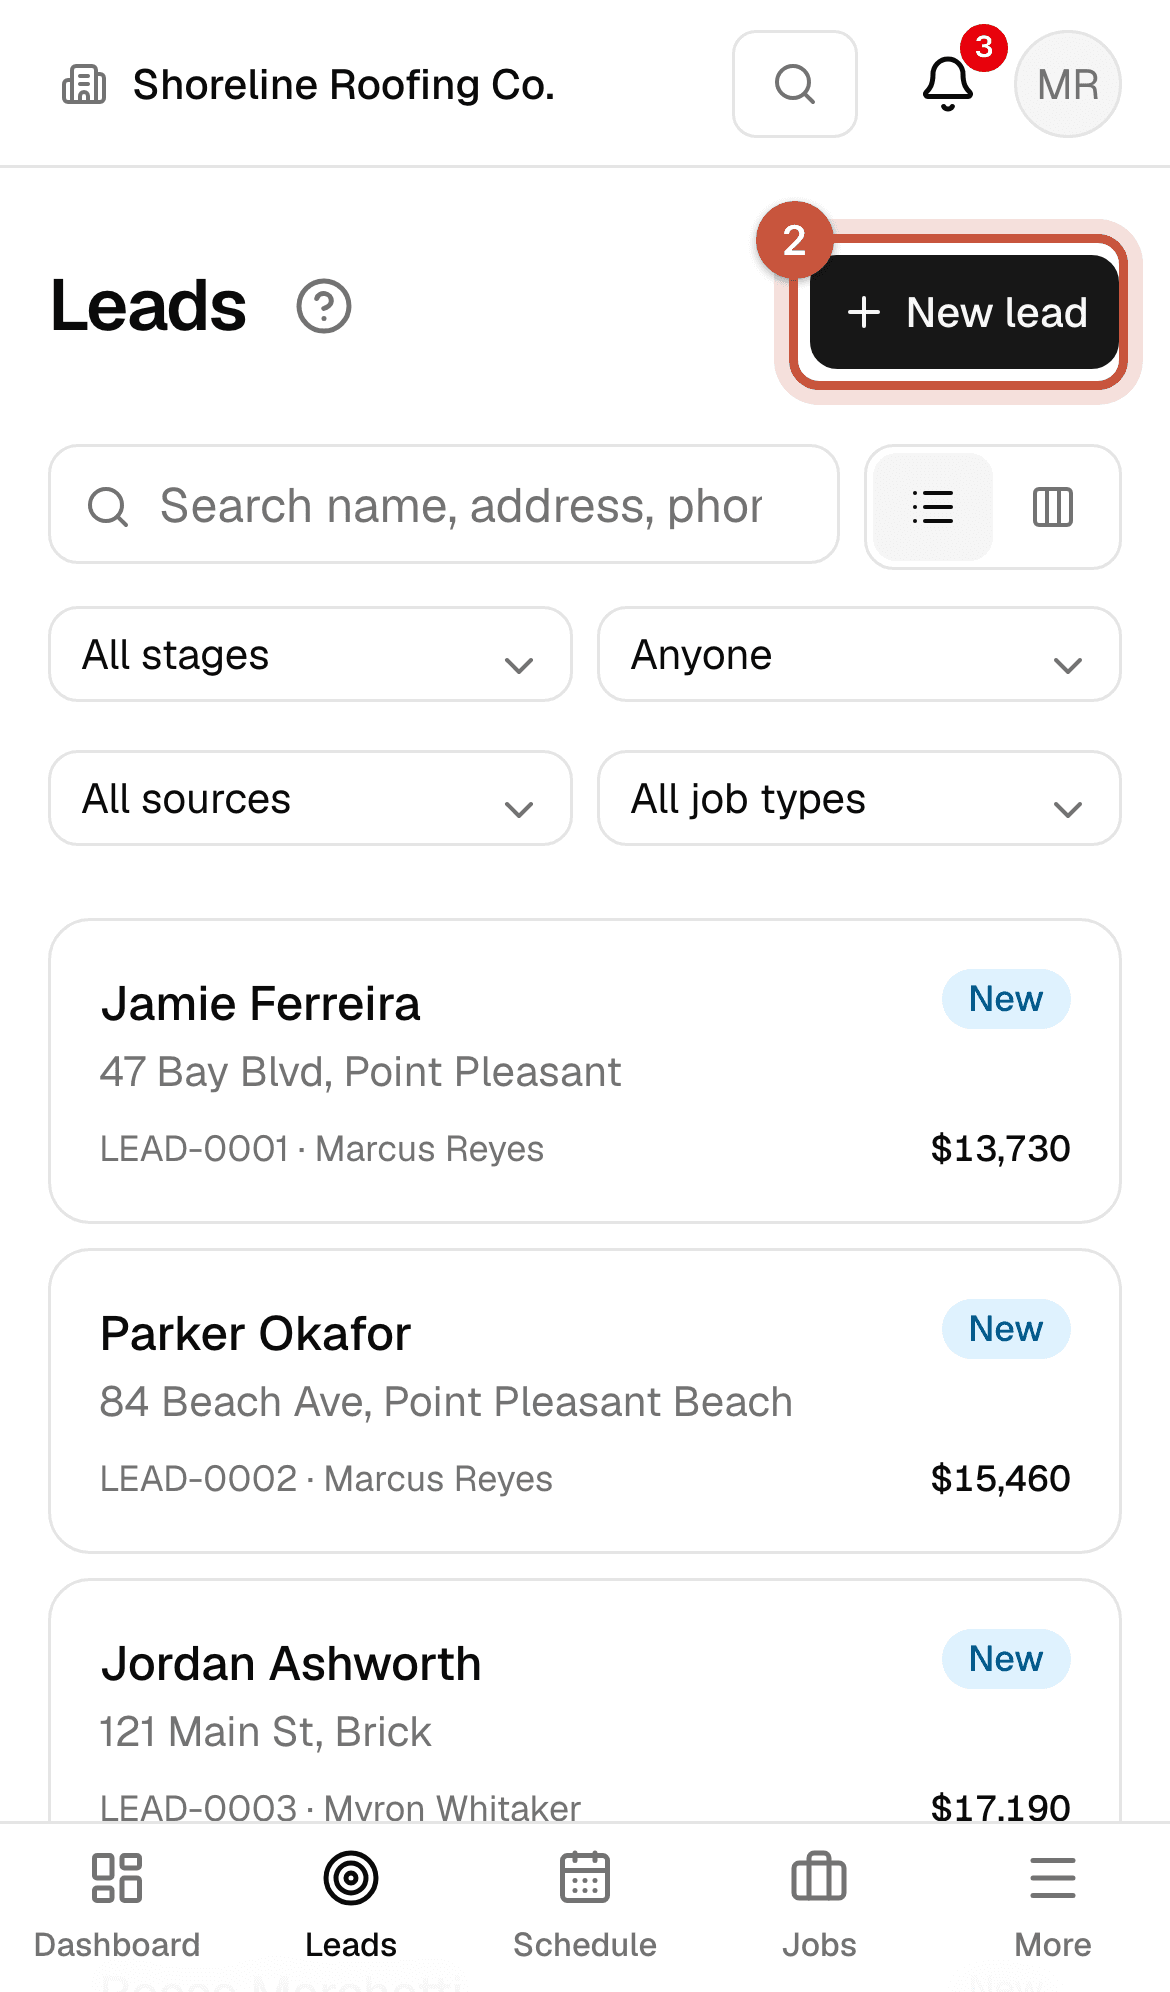
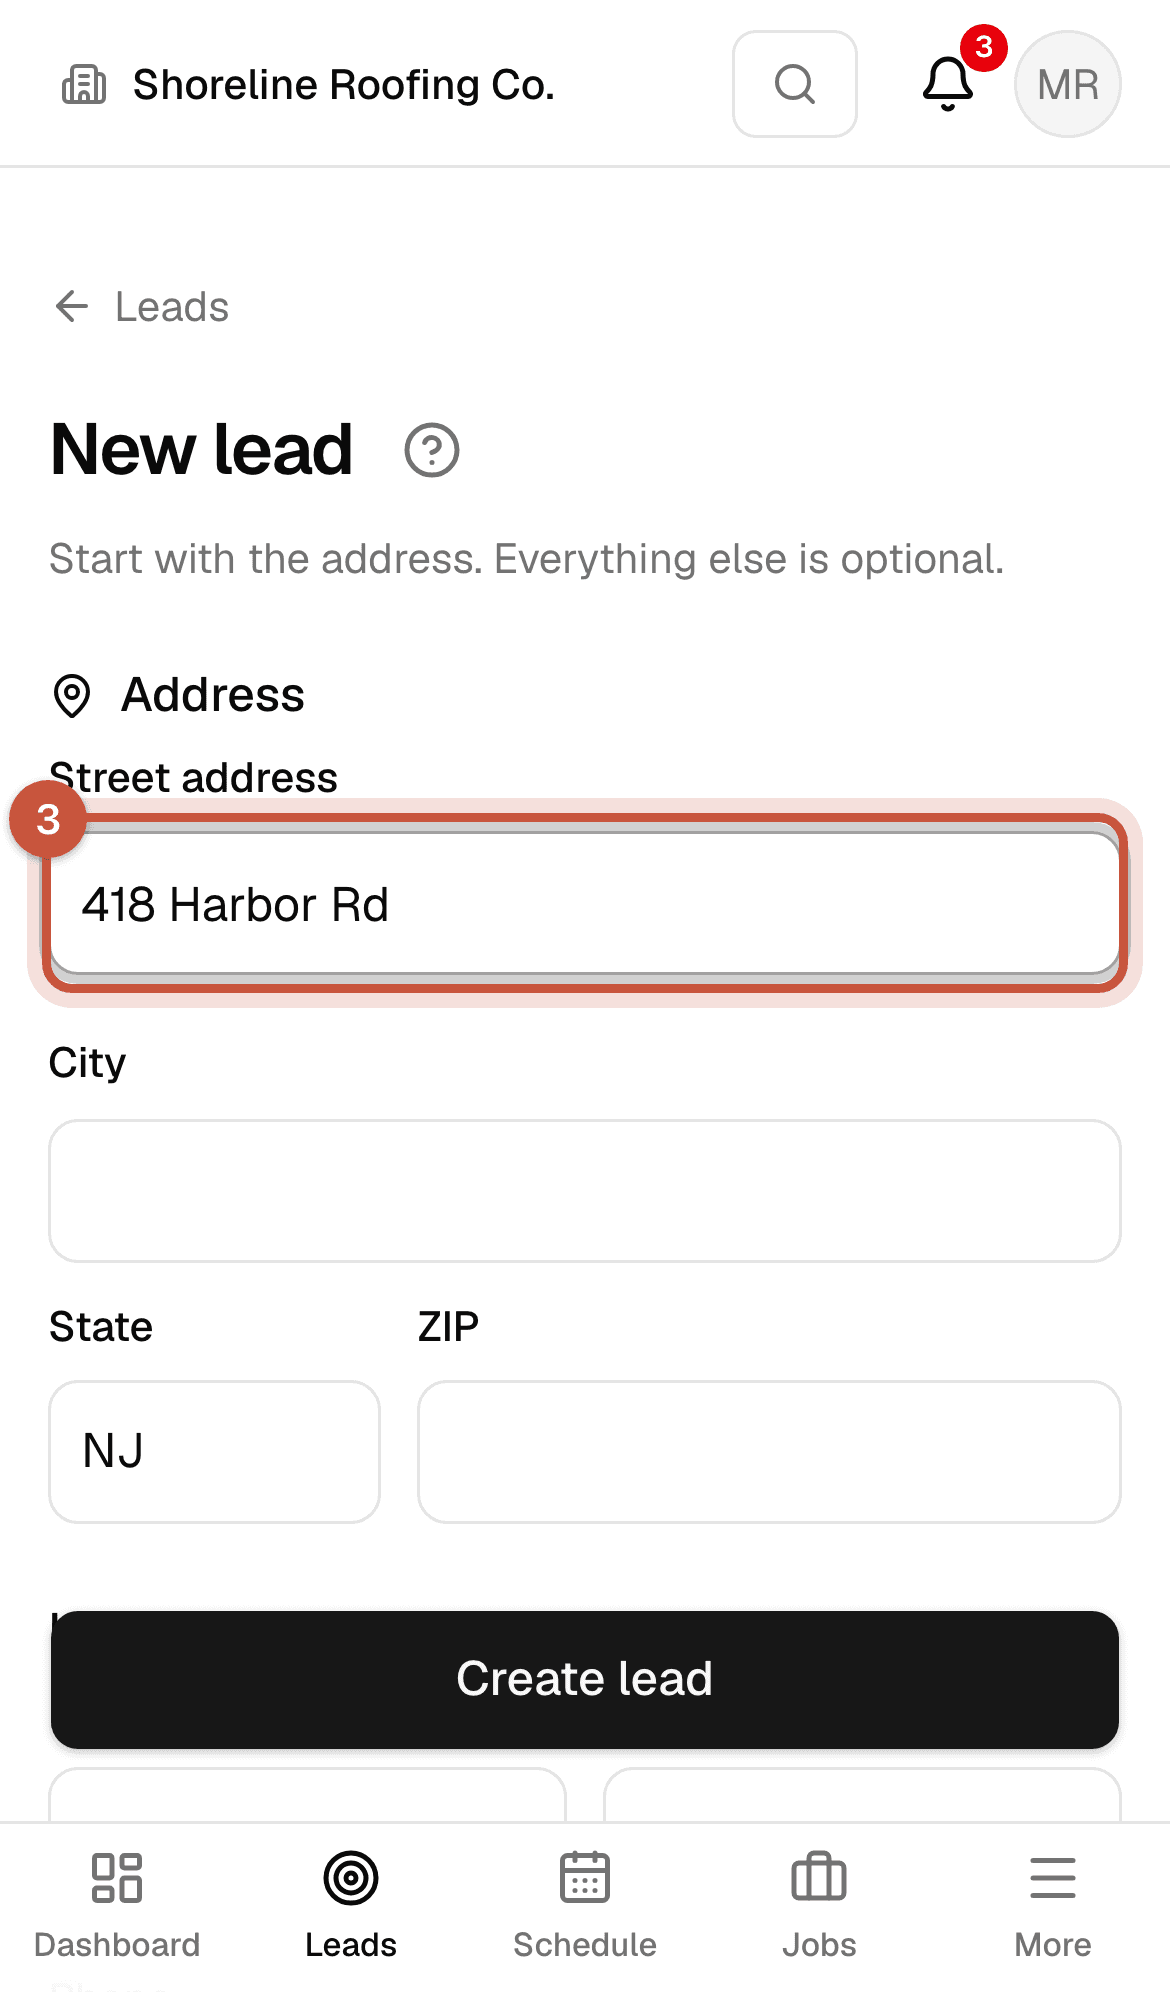
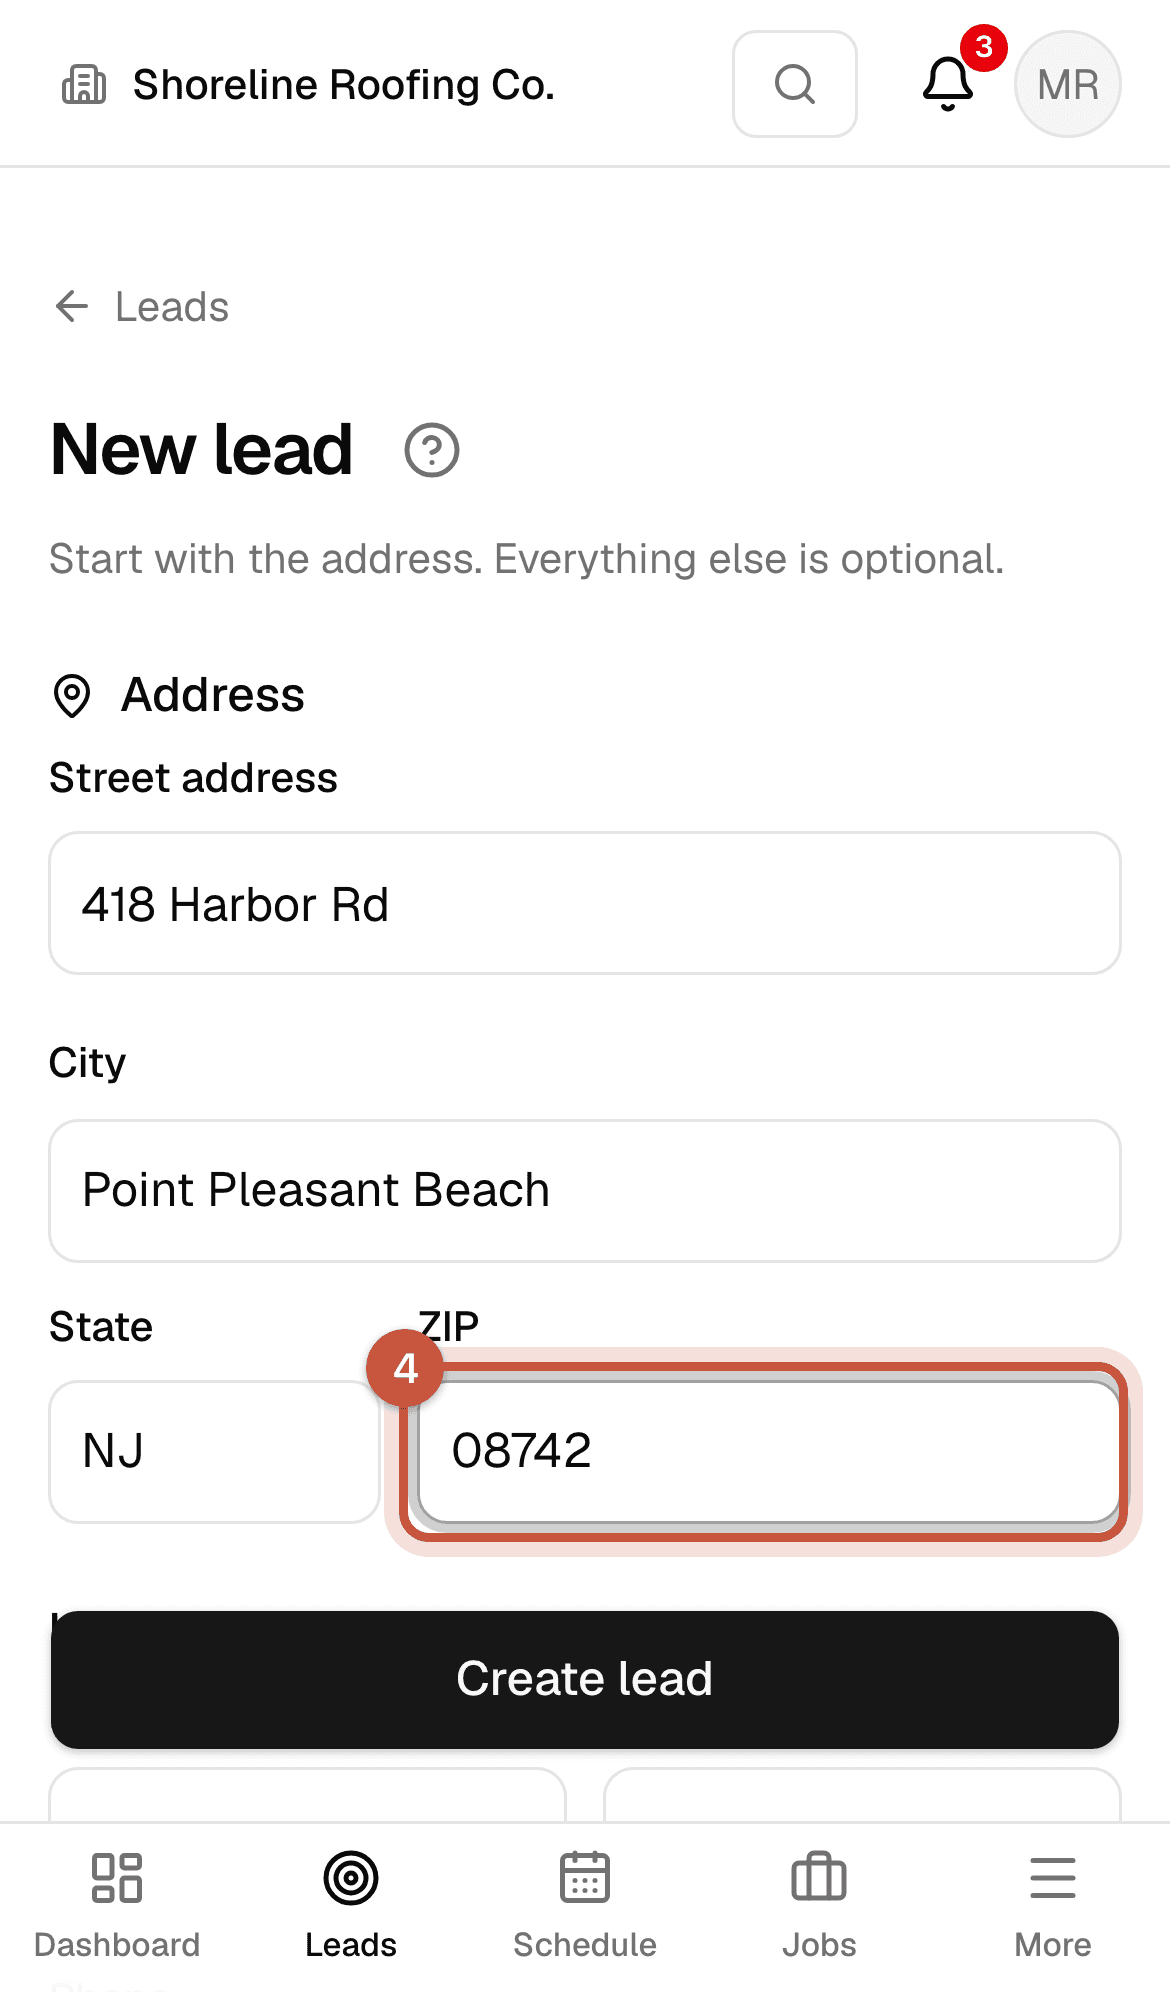
Add a lead from your phone
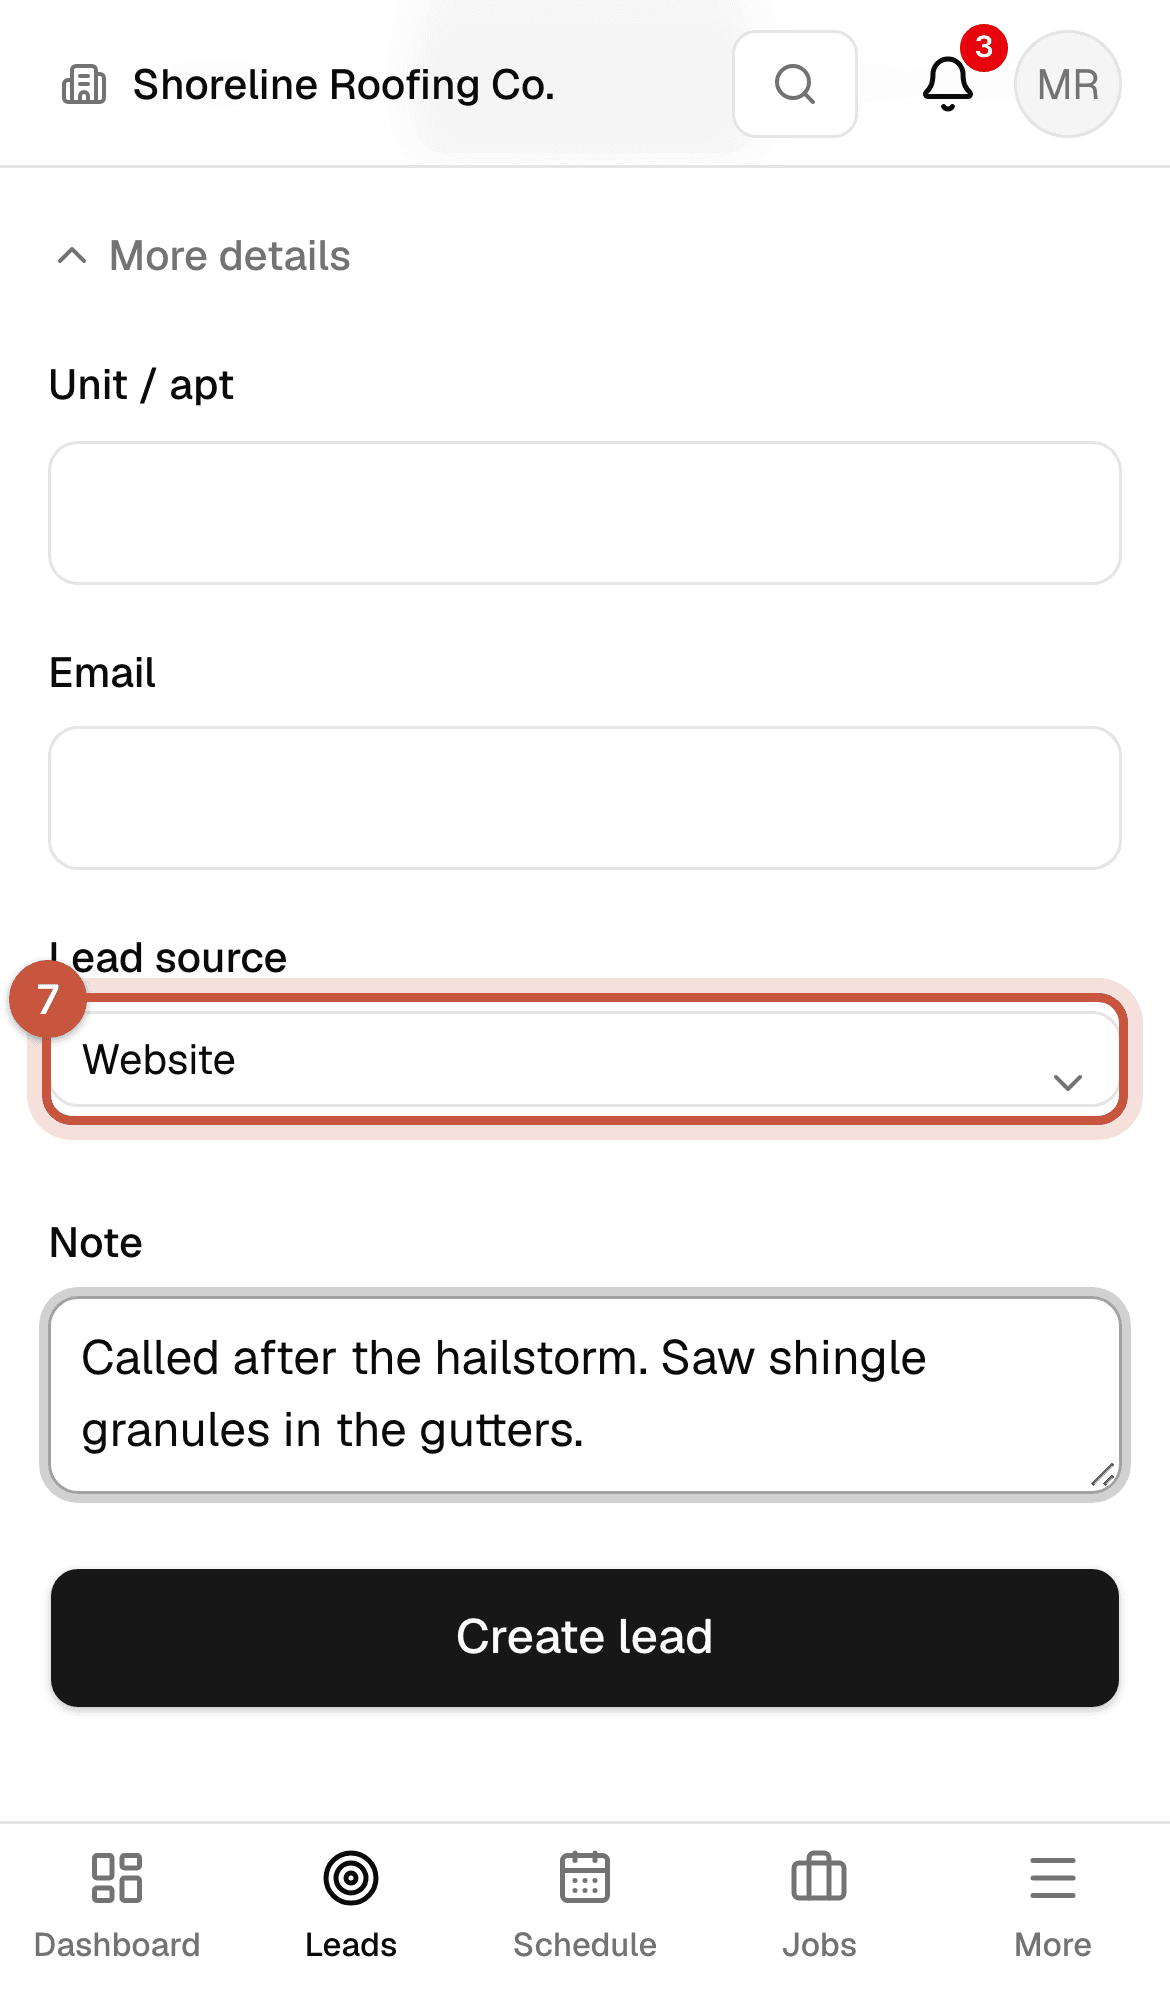
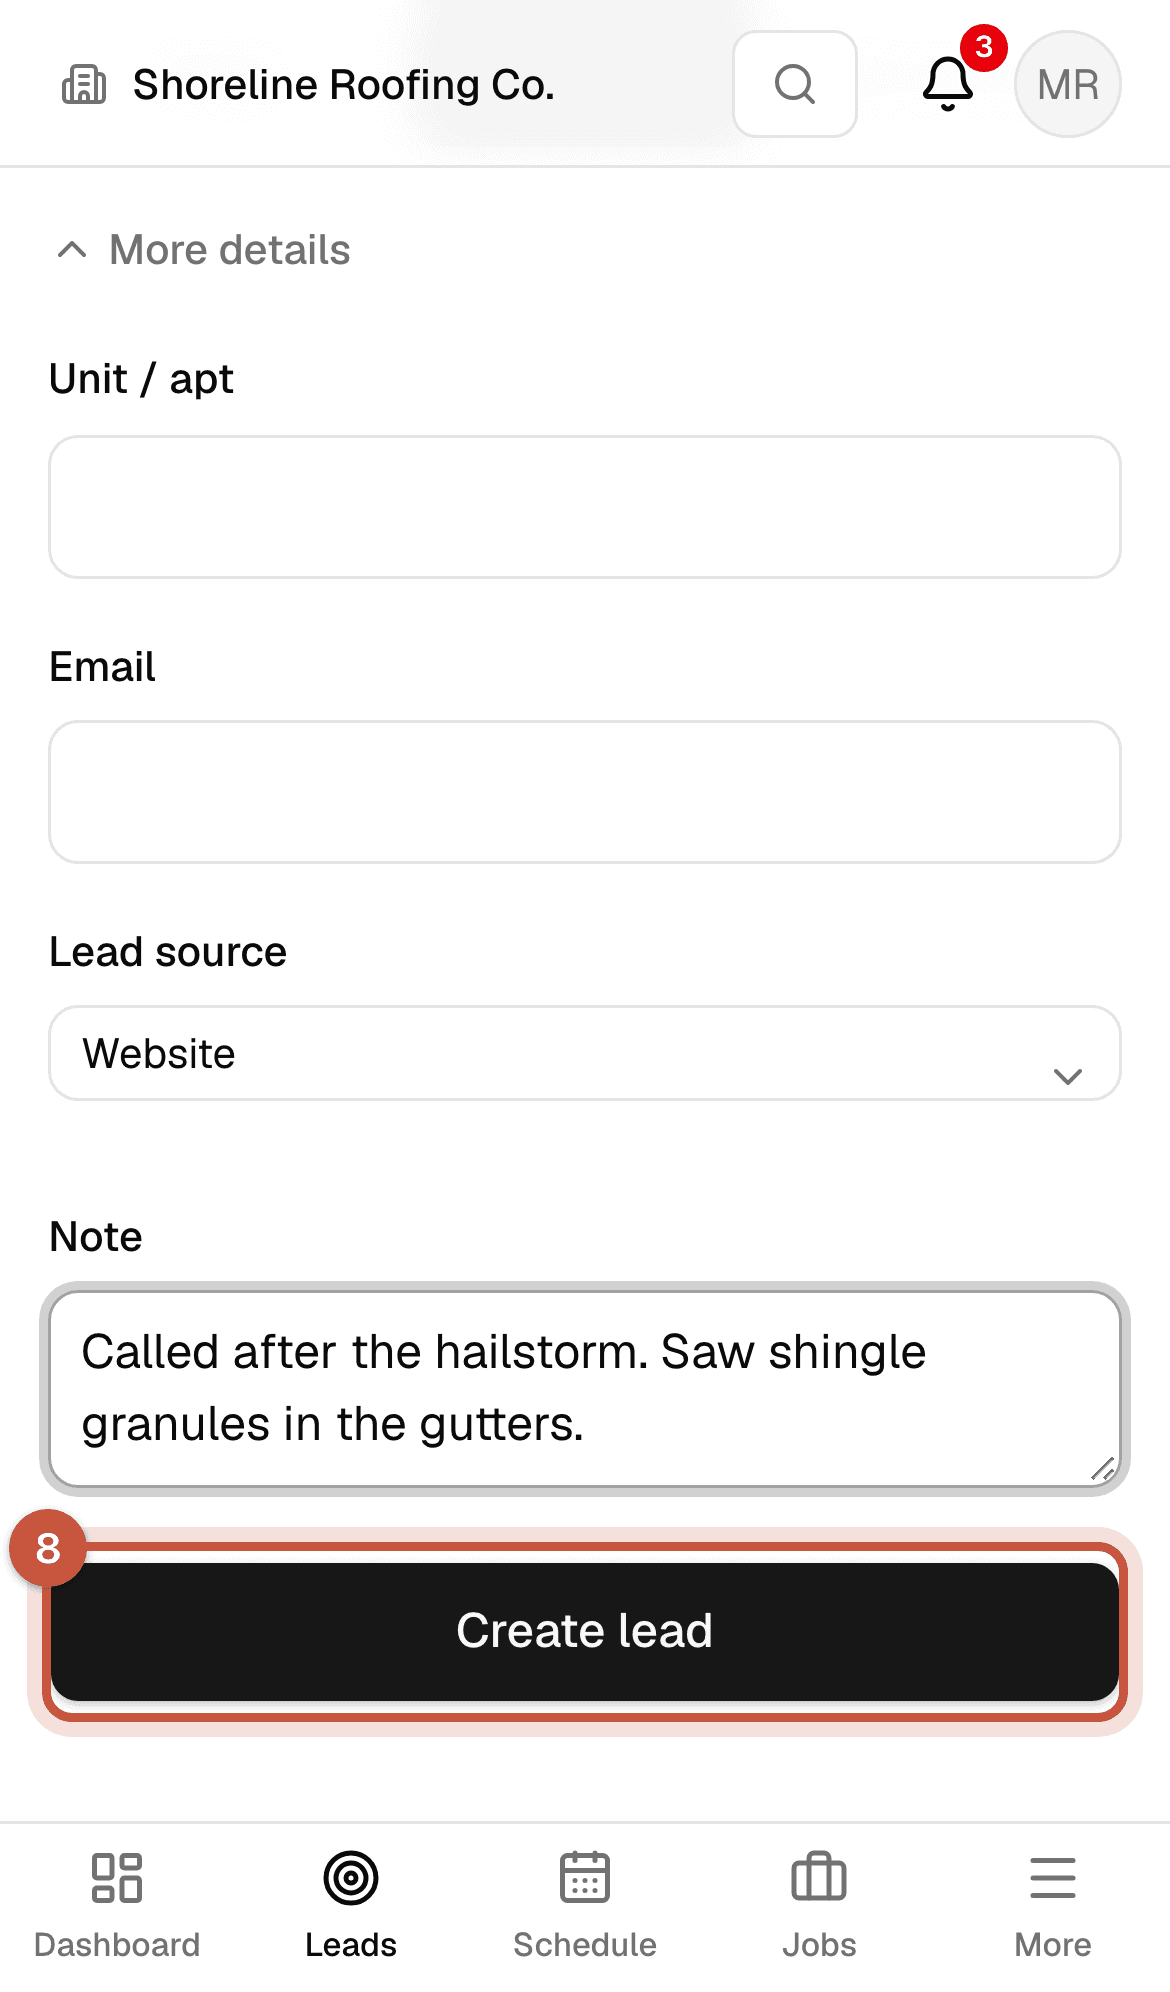
Most leads start in the field. On a phone the form asks for the address first, with big buttons and little typing. Adding a lead takes less than 30 seconds.
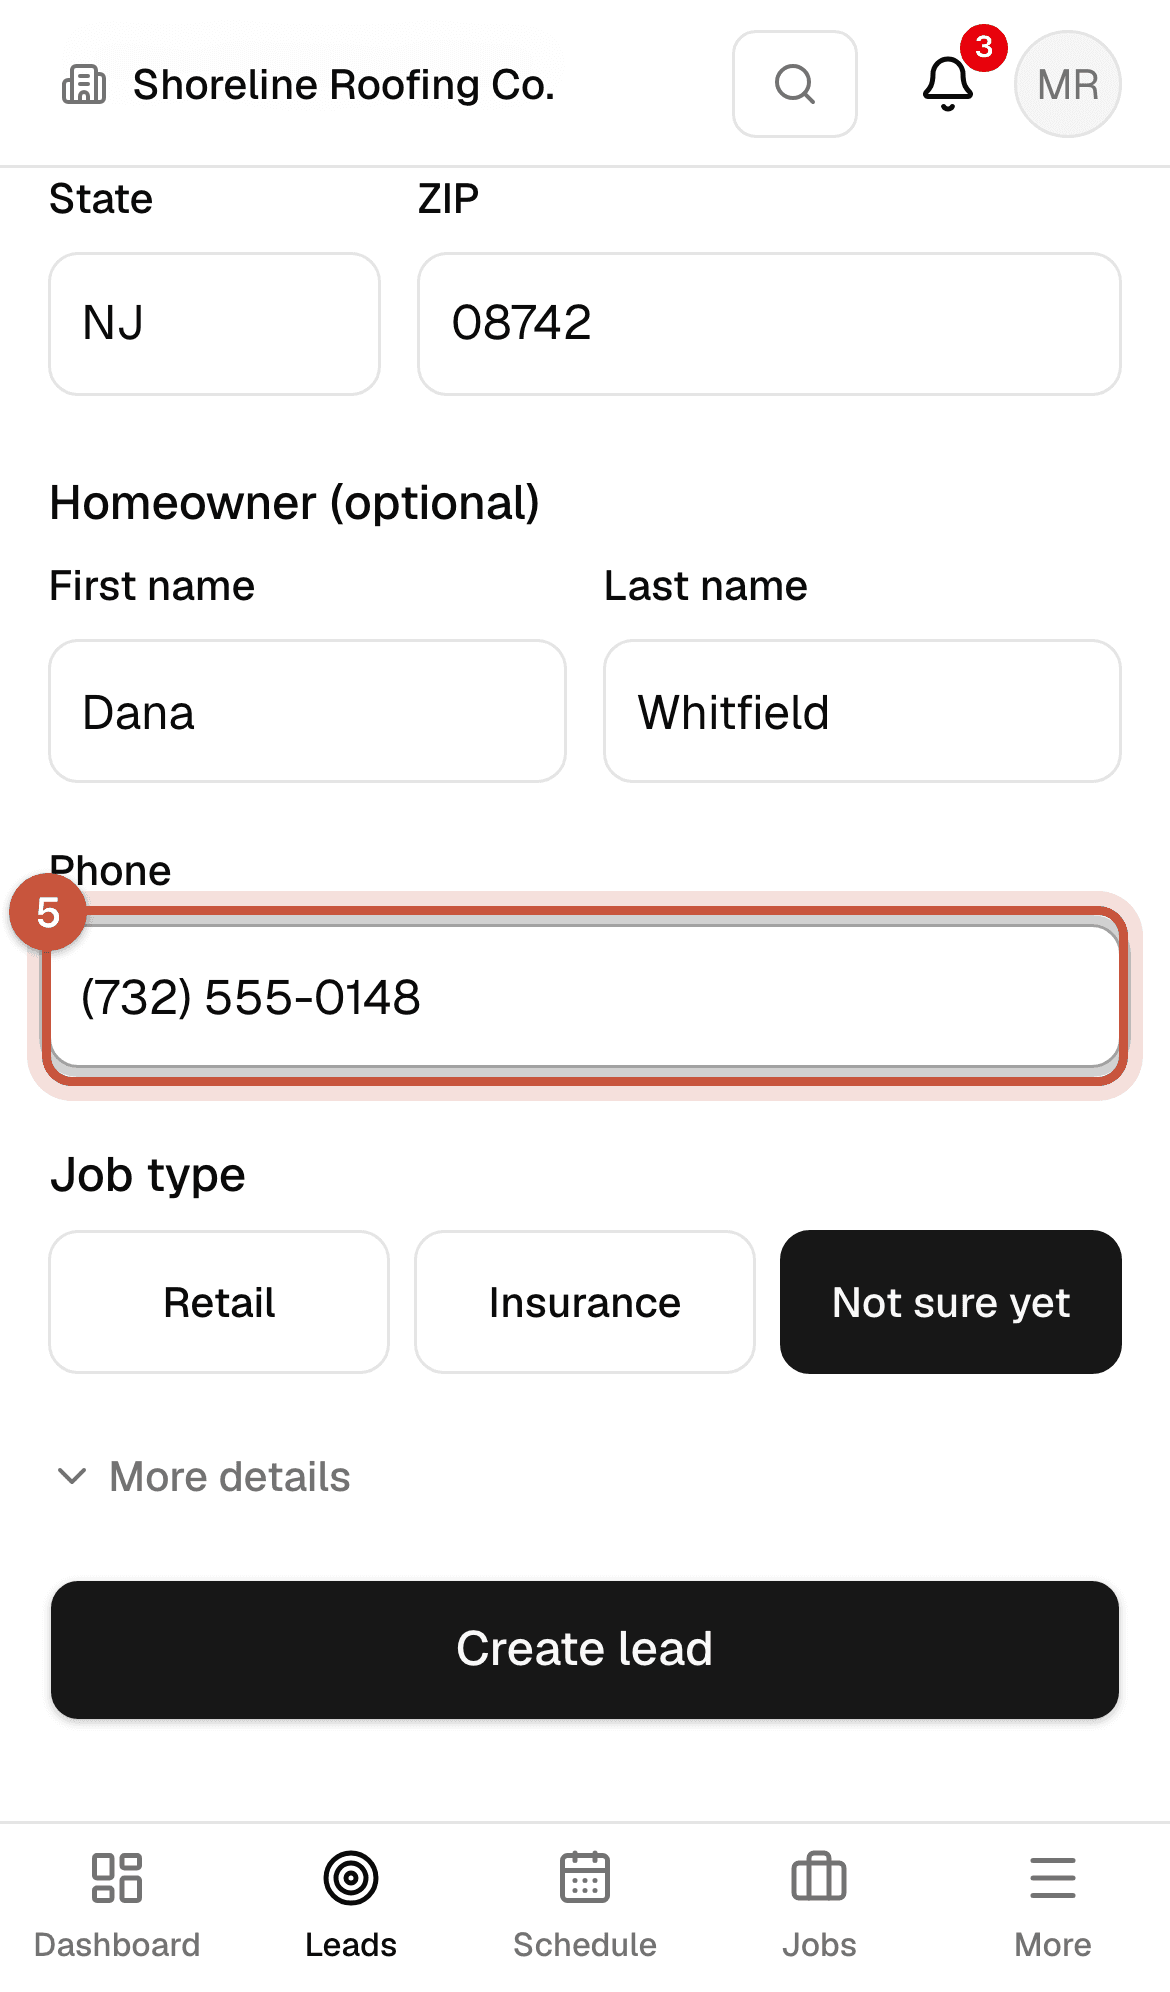
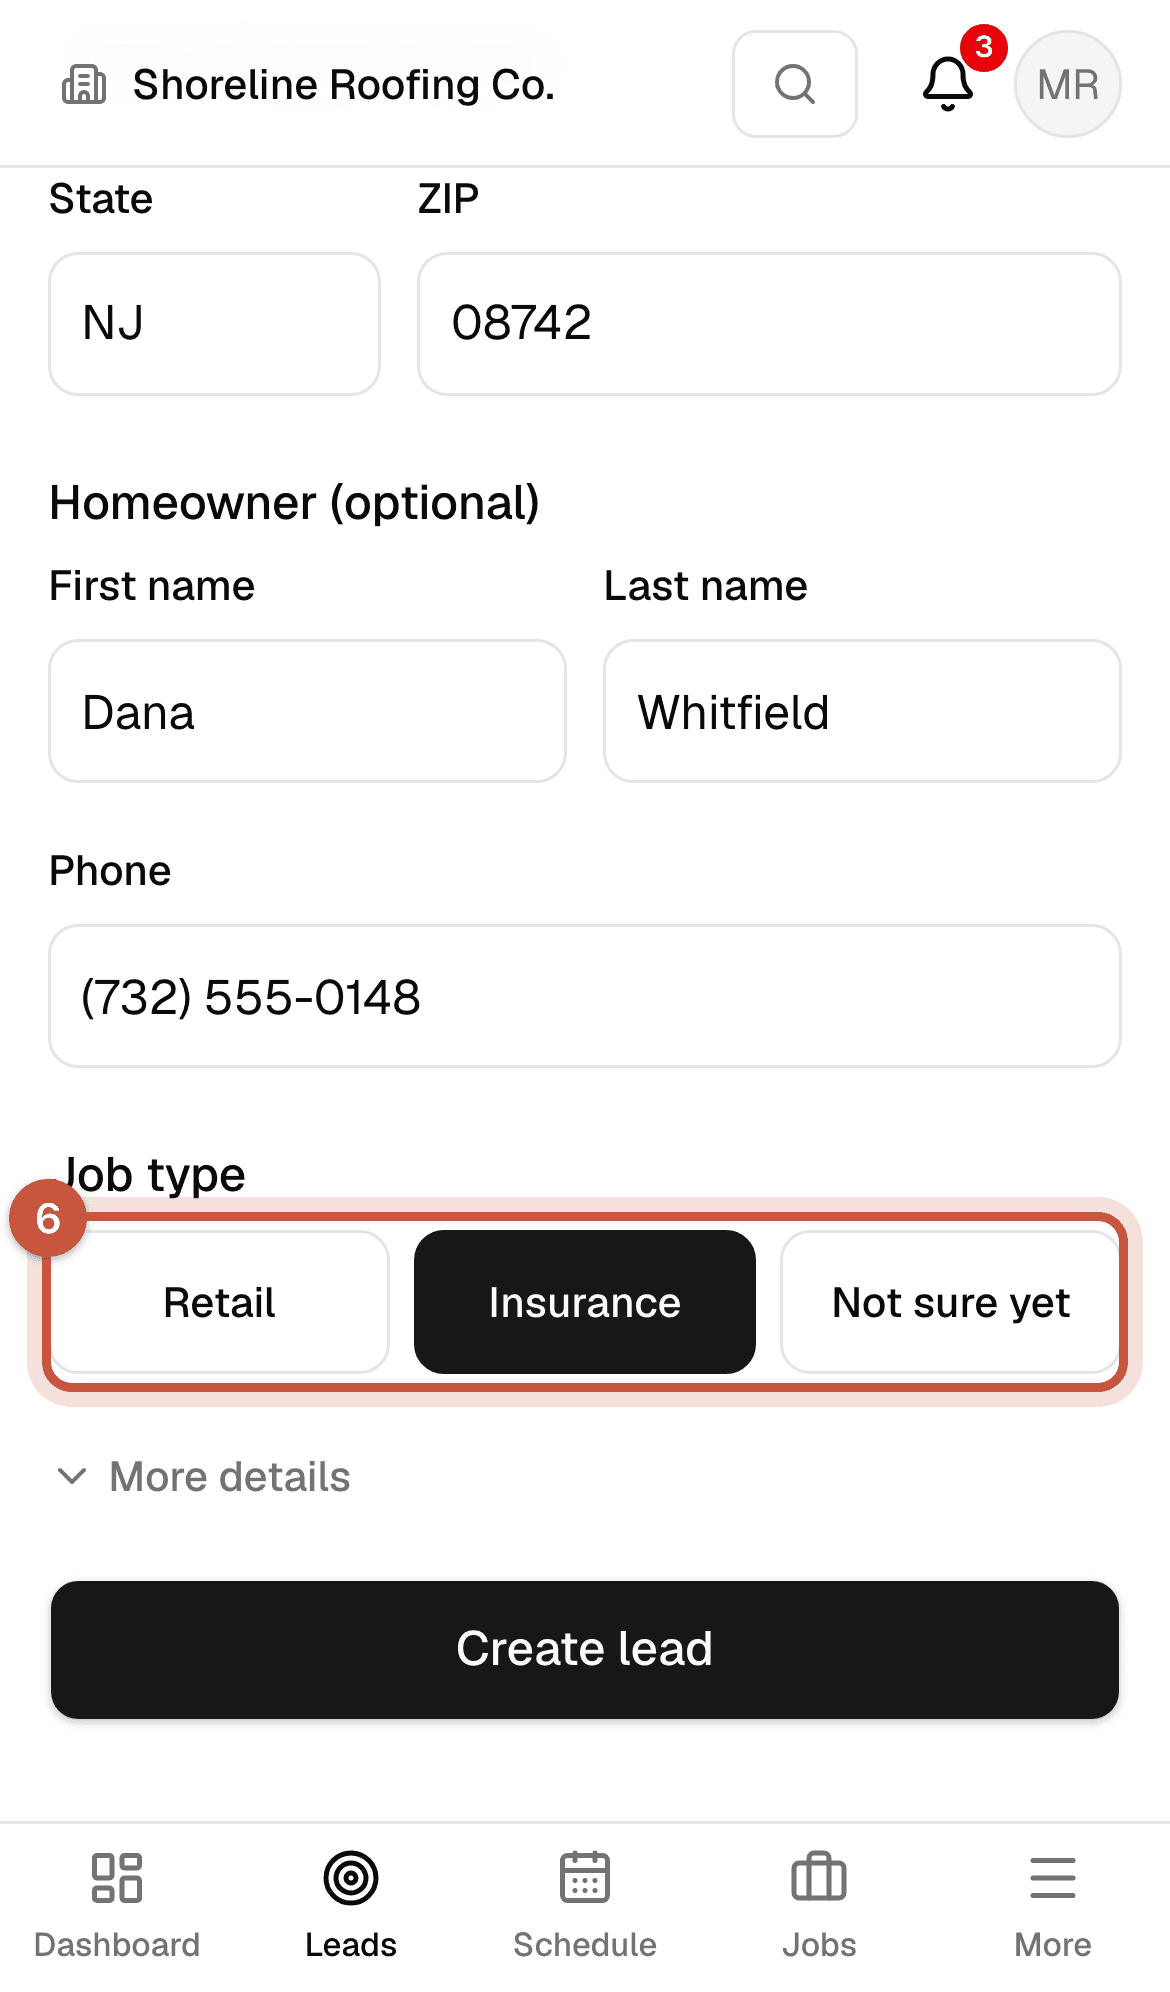
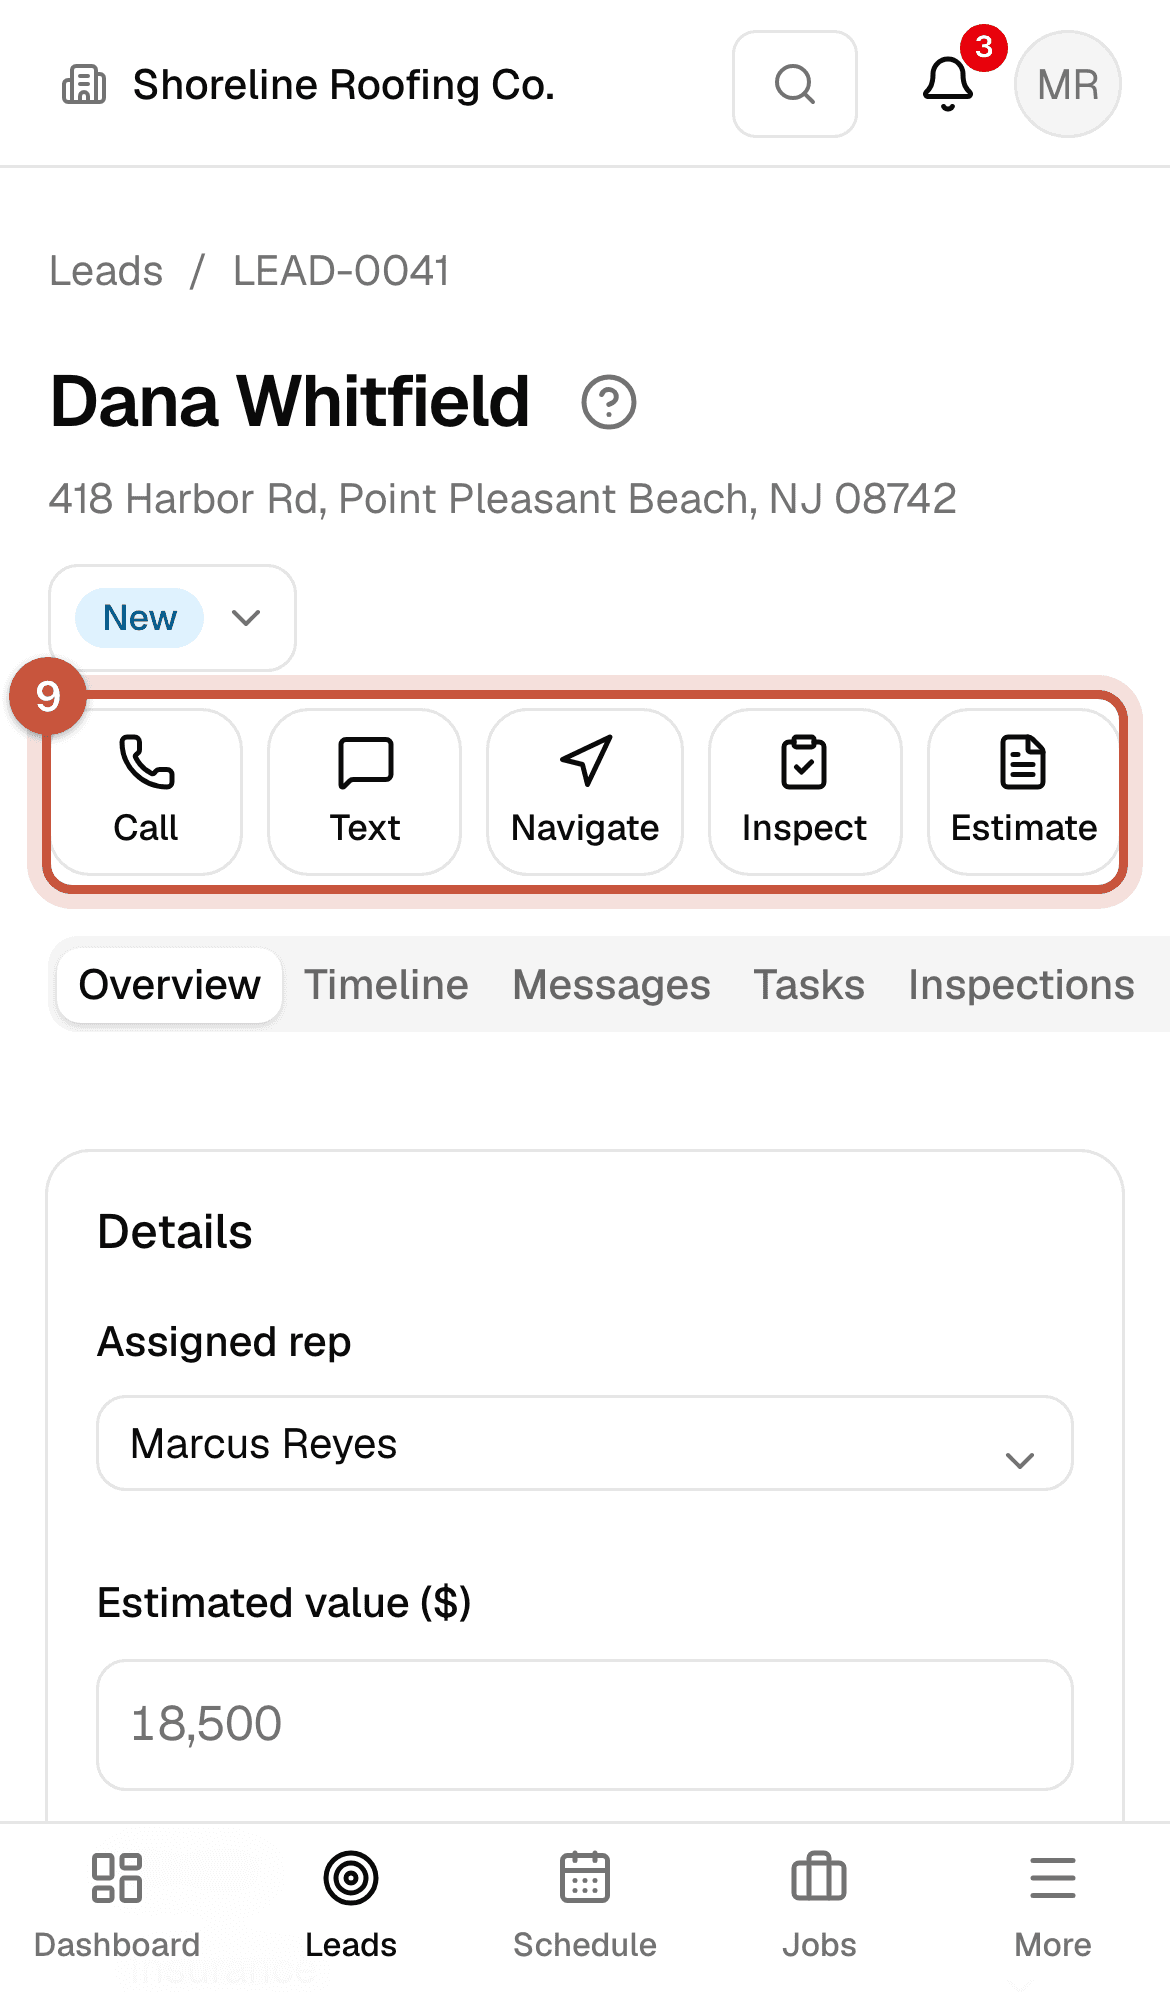
Tip: Not sure yet whether insurance is involved? Choose Not sure yet. You can change the job type on the lead later.
Texts and emails from ShingleSync need the homeowner's consent. Adding a phone number or email doesn't give that permission. Chapter 2 shows how to record it.
If the address is already in ShingleSync
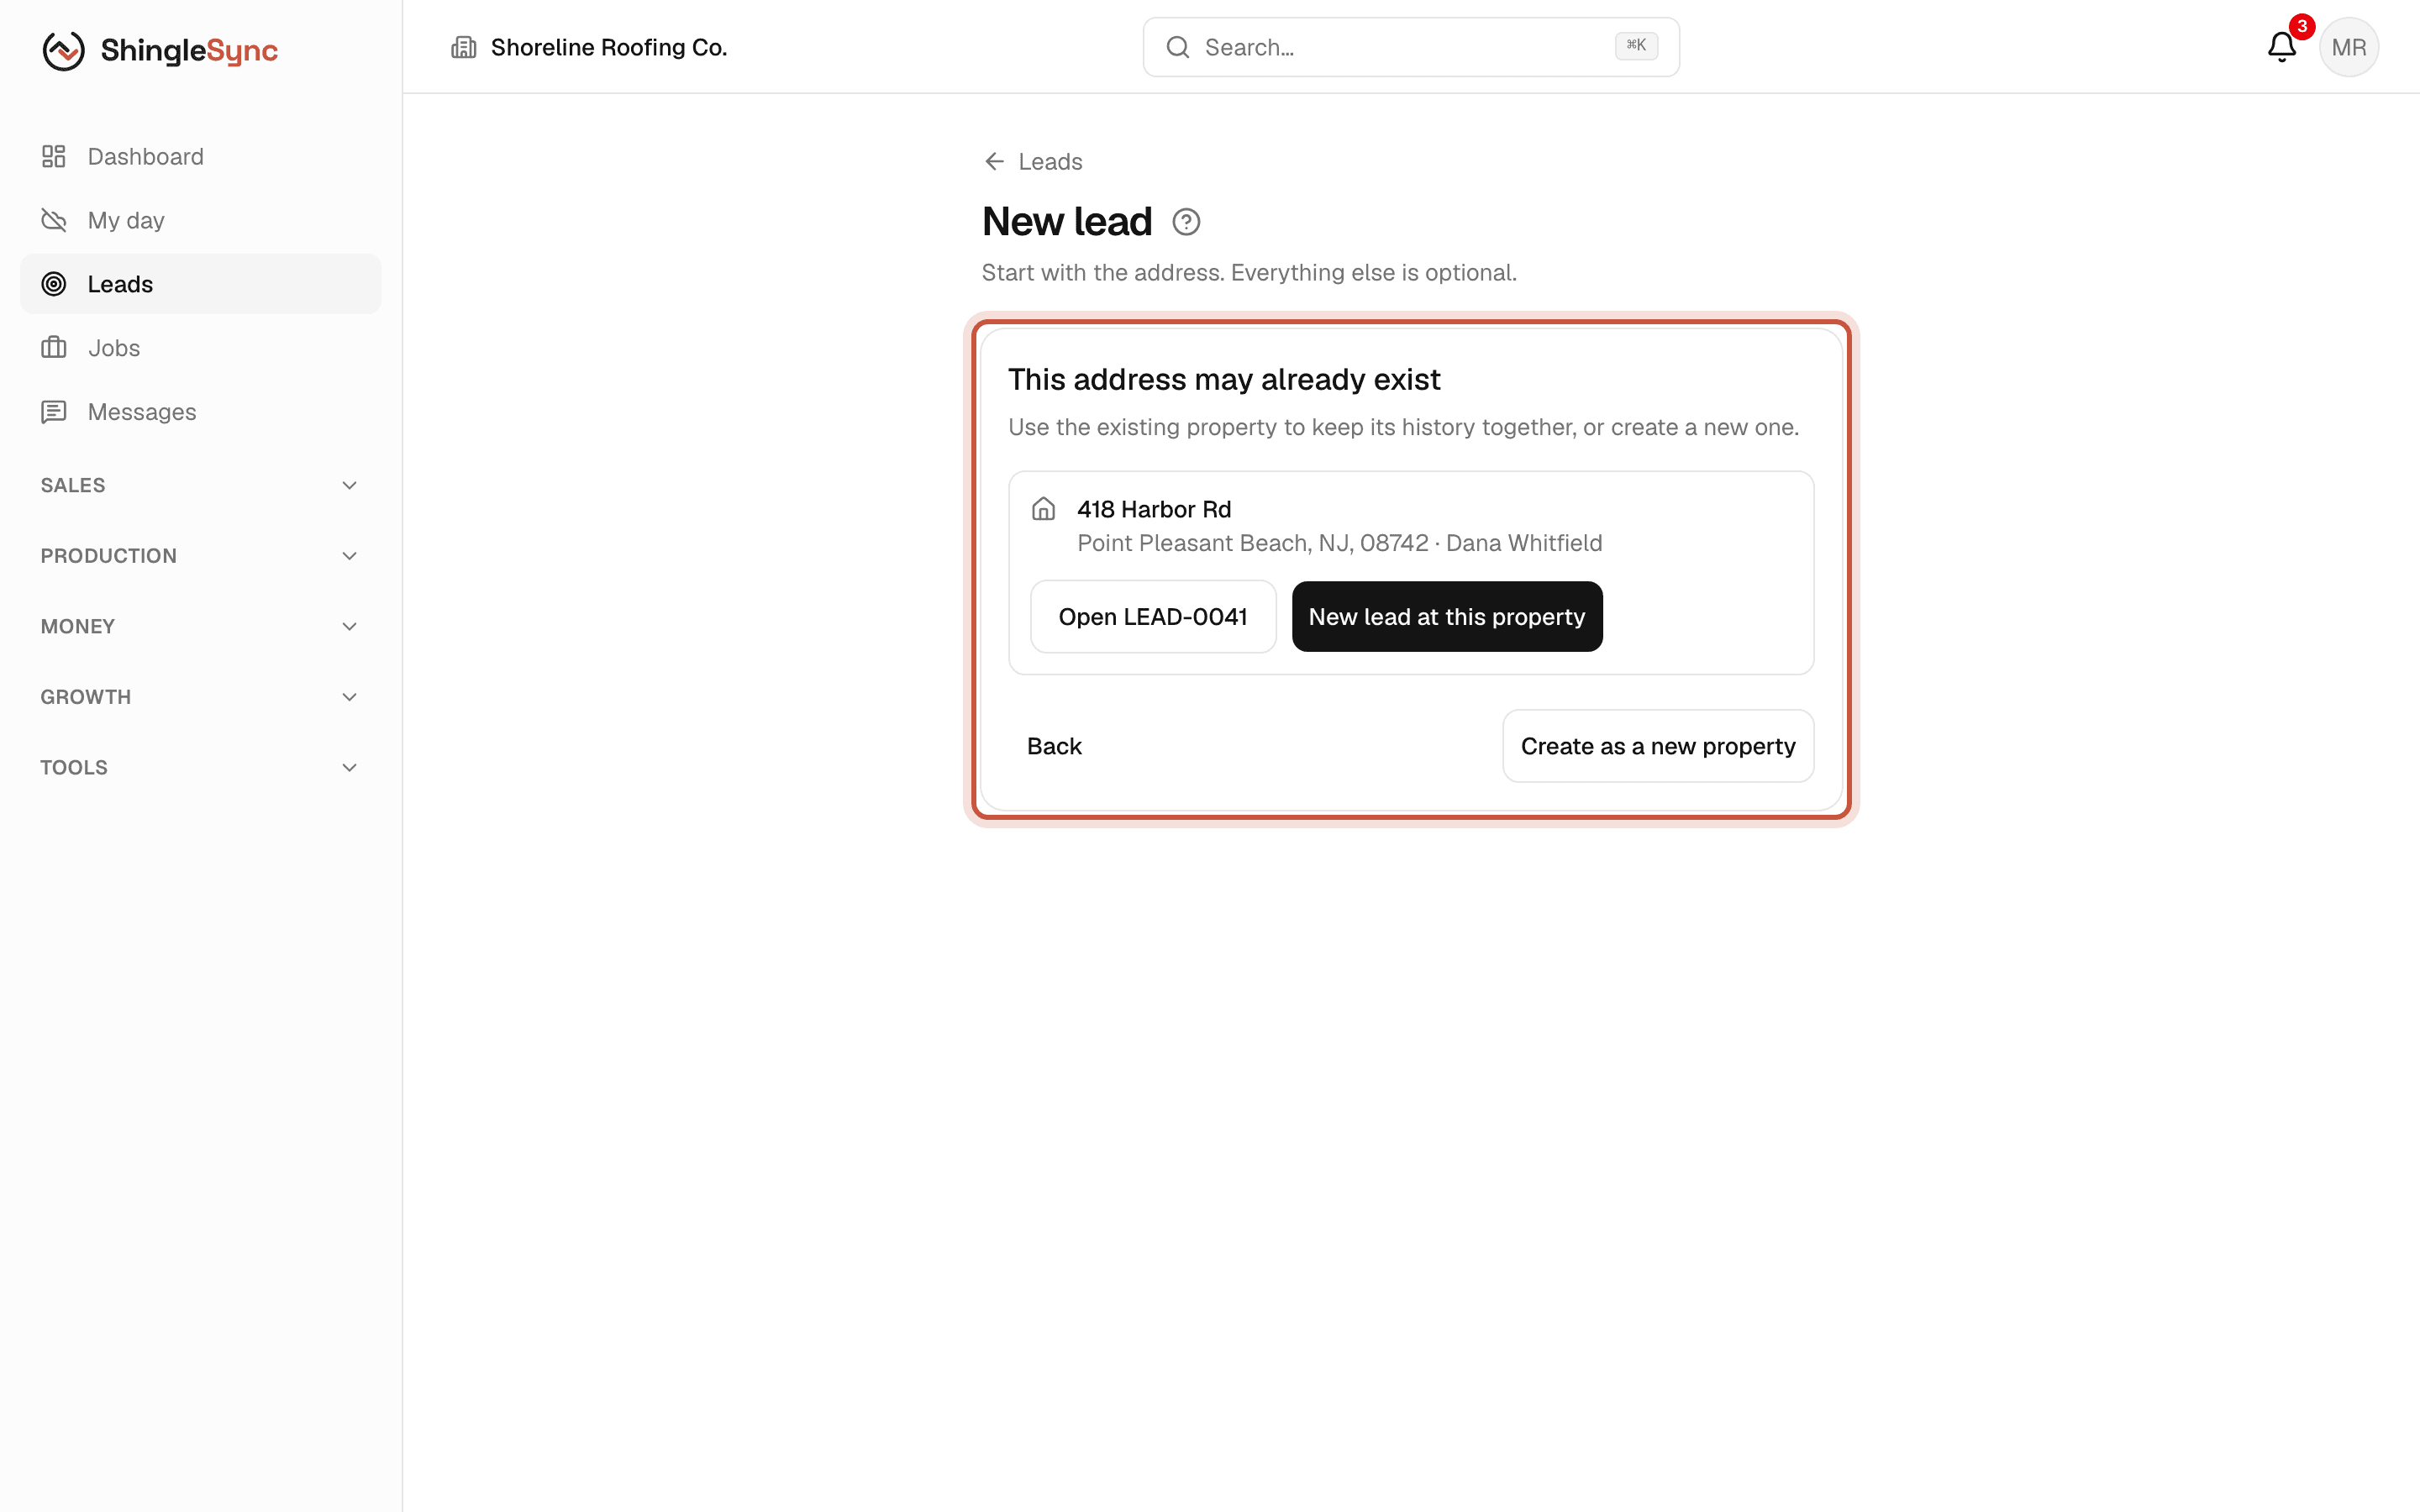
When you create a lead, ShingleSync checks the address against your existing properties. If it finds a match, it shows you before anything is saved:
- Open LEAD-… goes to the open lead at that address, if there is one.
- New lead at this property adds a lead to the existing property and customer, for example when a past customer calls again.
- Create as a new property saves it separately, when the match is a different home.
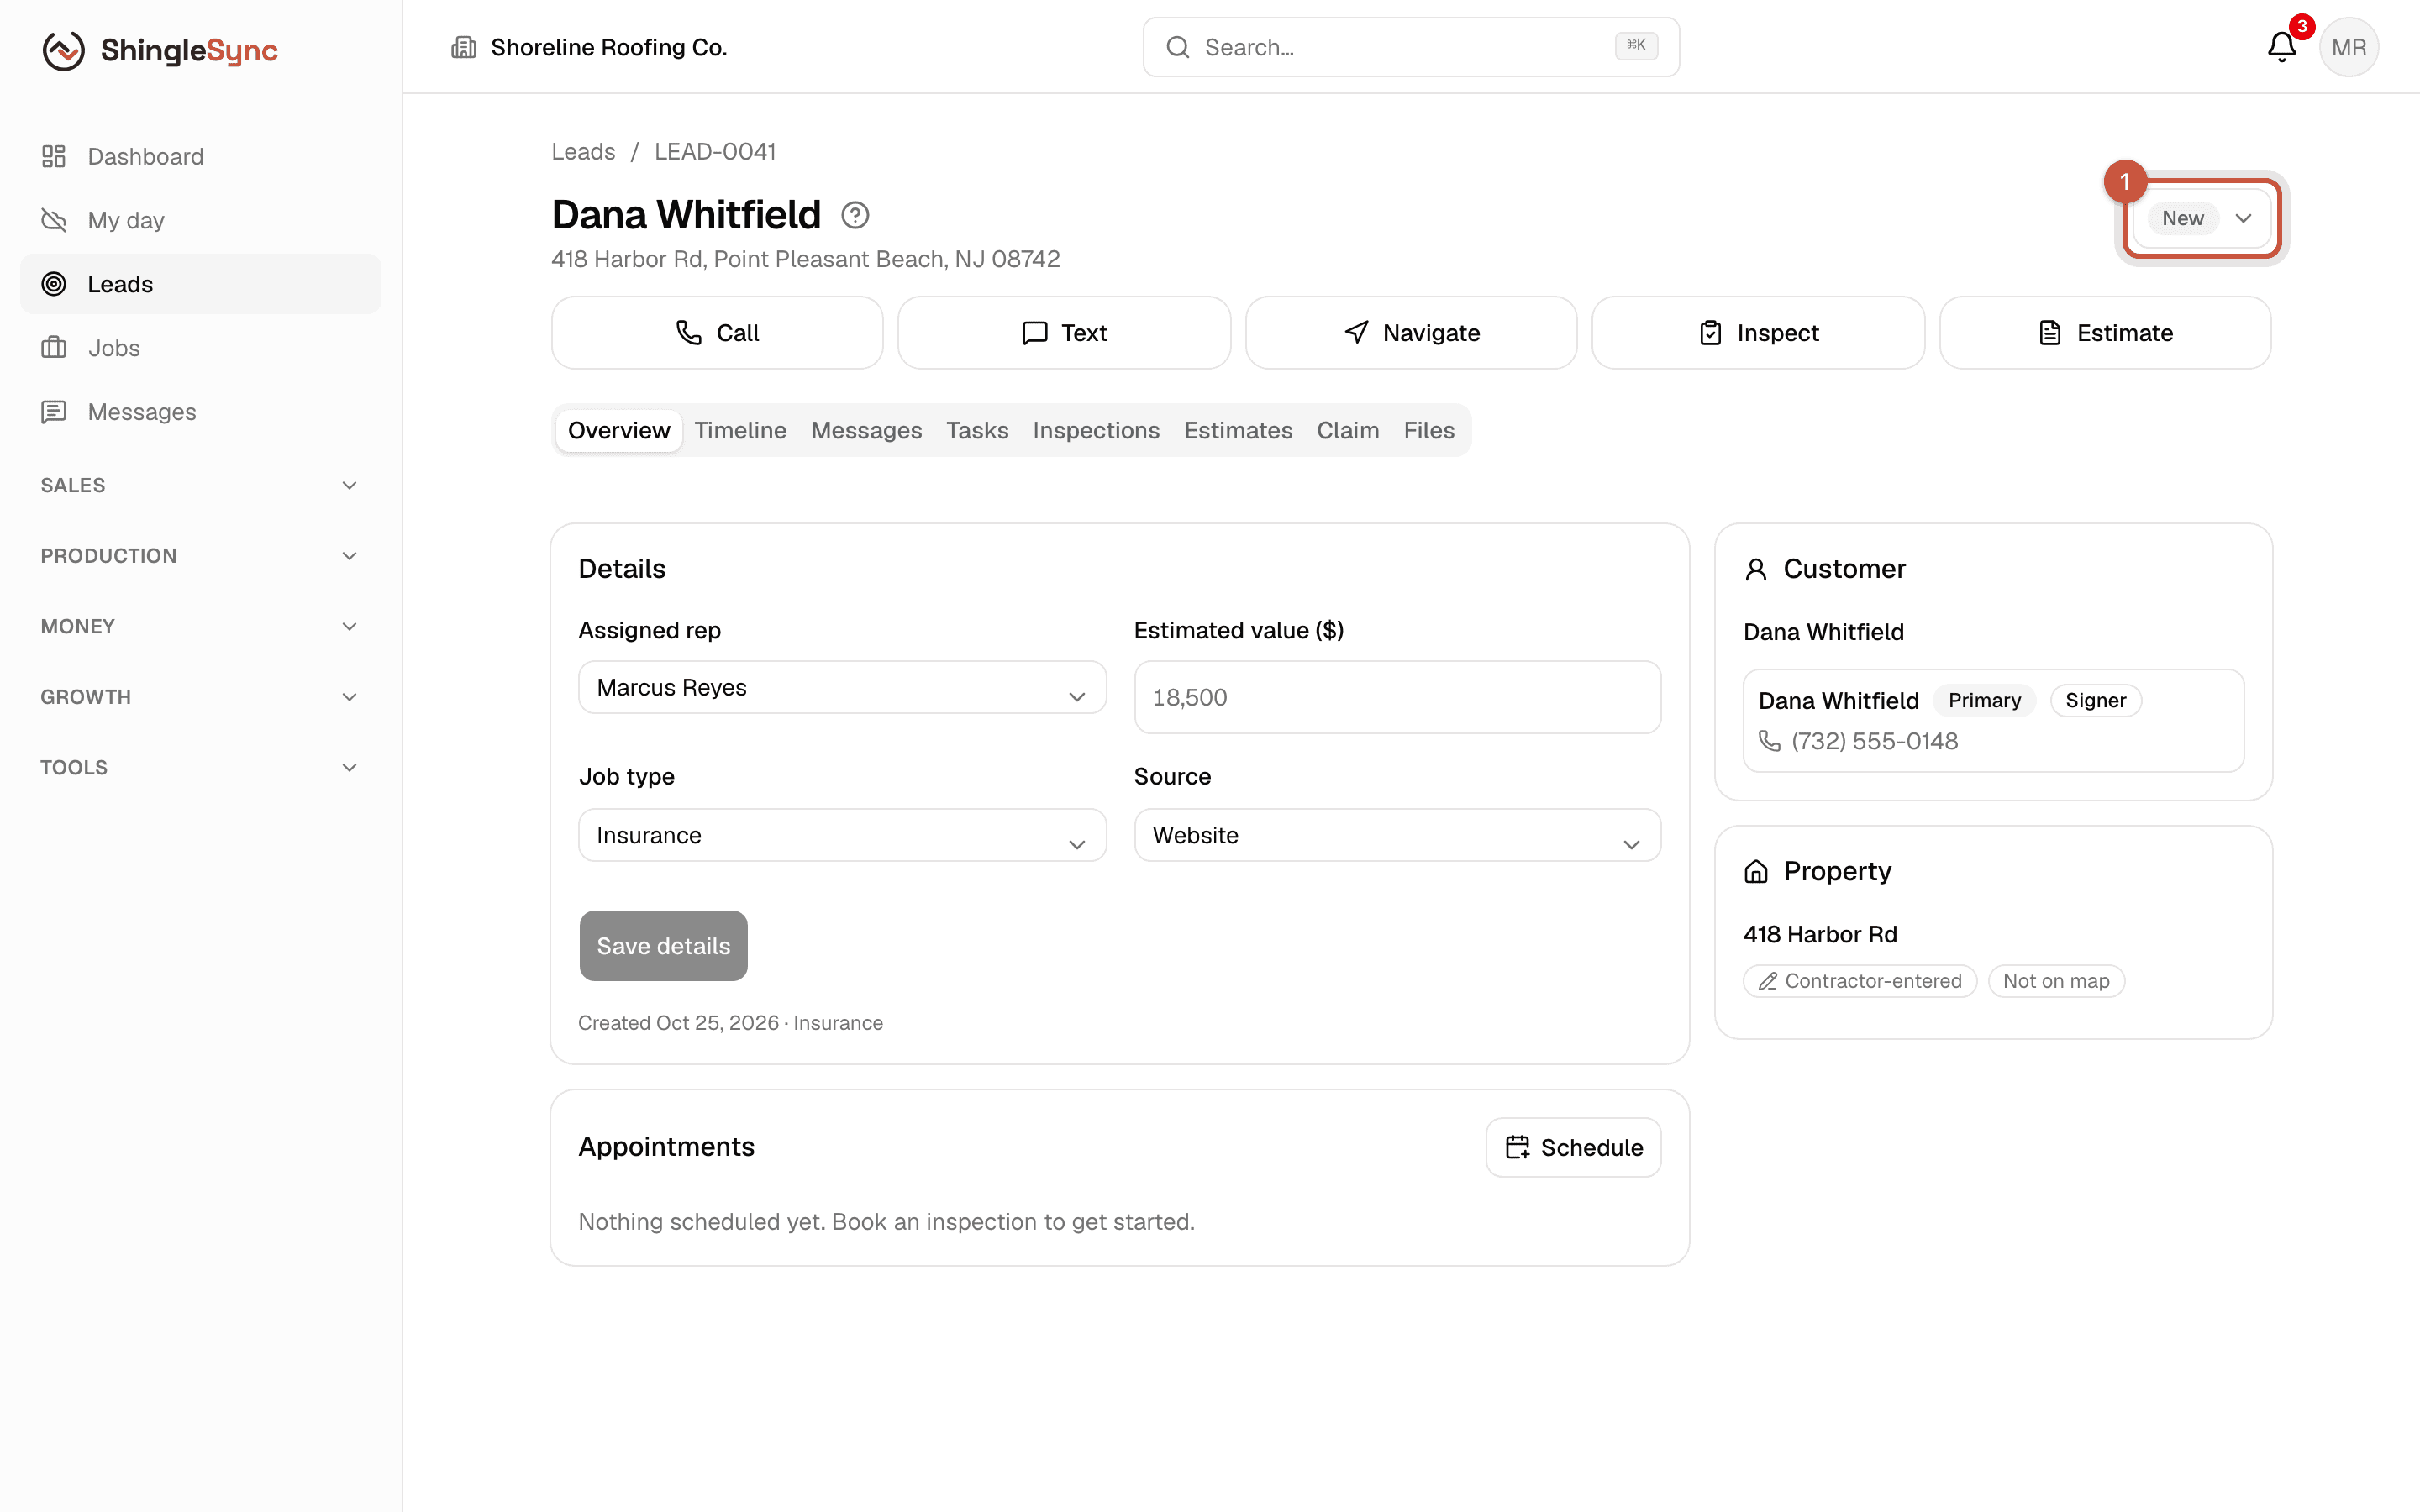
The lead on a computer
On a computer the same lead shows everything at once: the homeowner, the property, the stage, the quick actions, and tabs for the timeline, messages, tasks, inspections, estimates, the insurance claim and files.
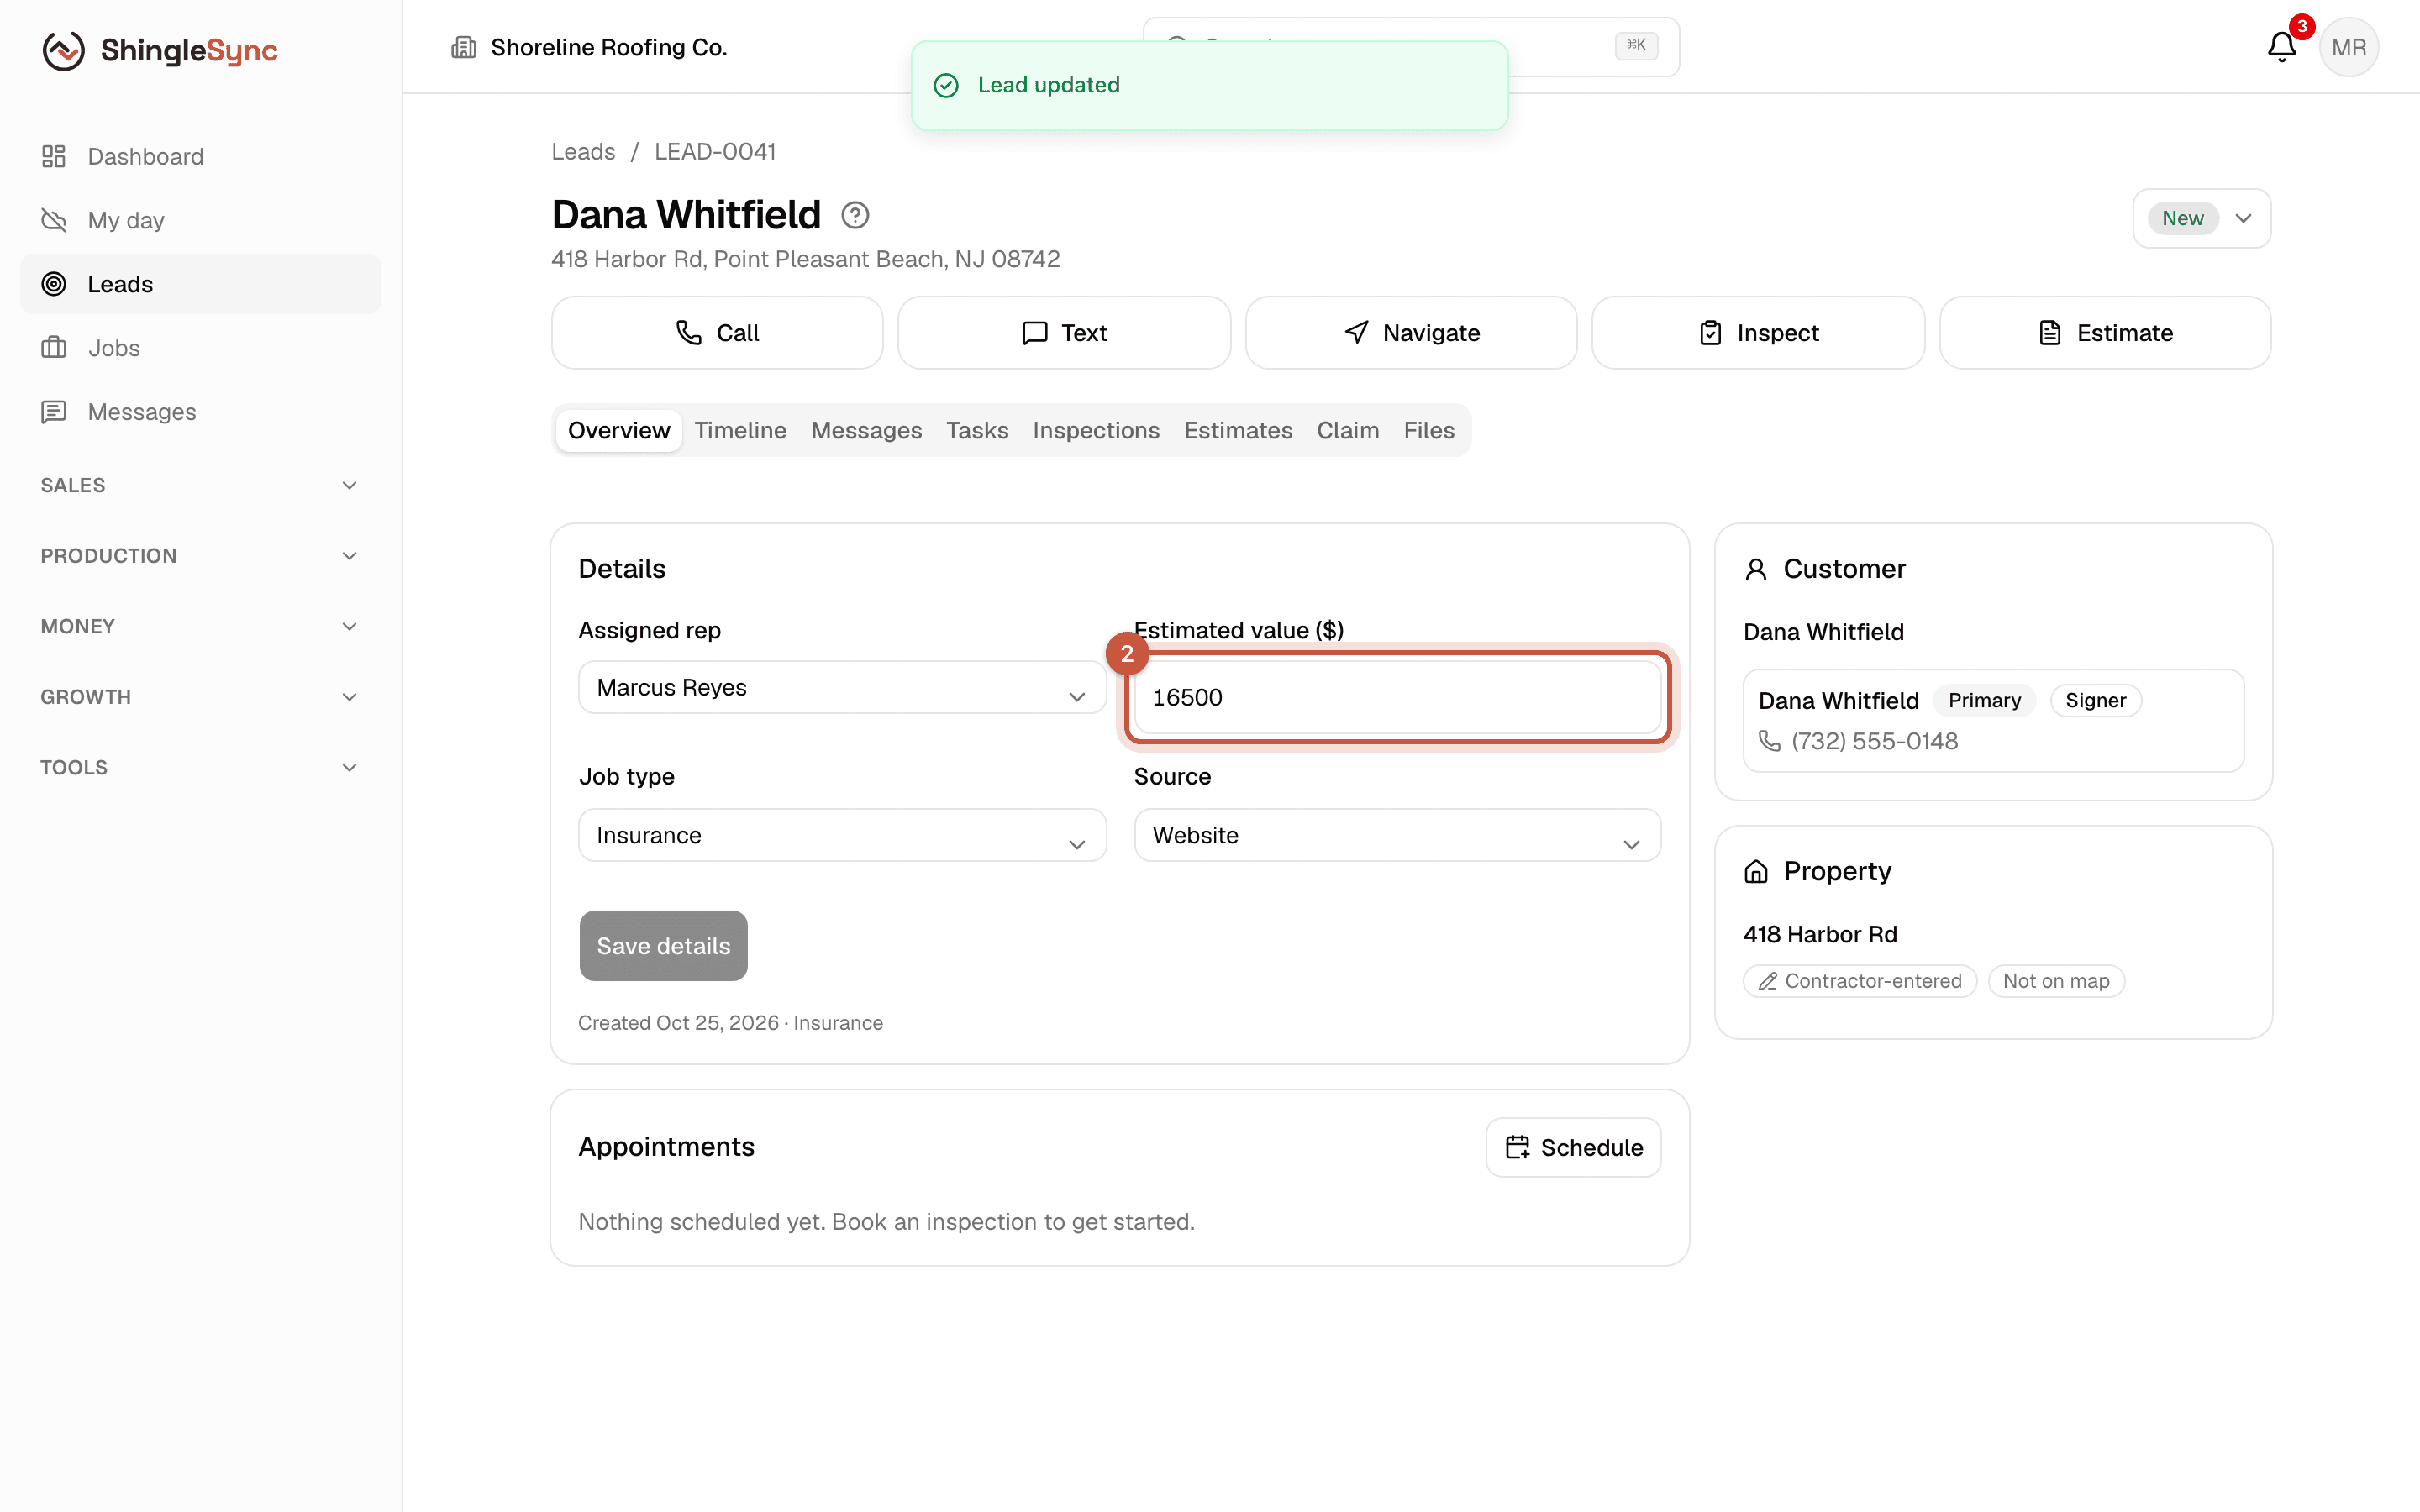
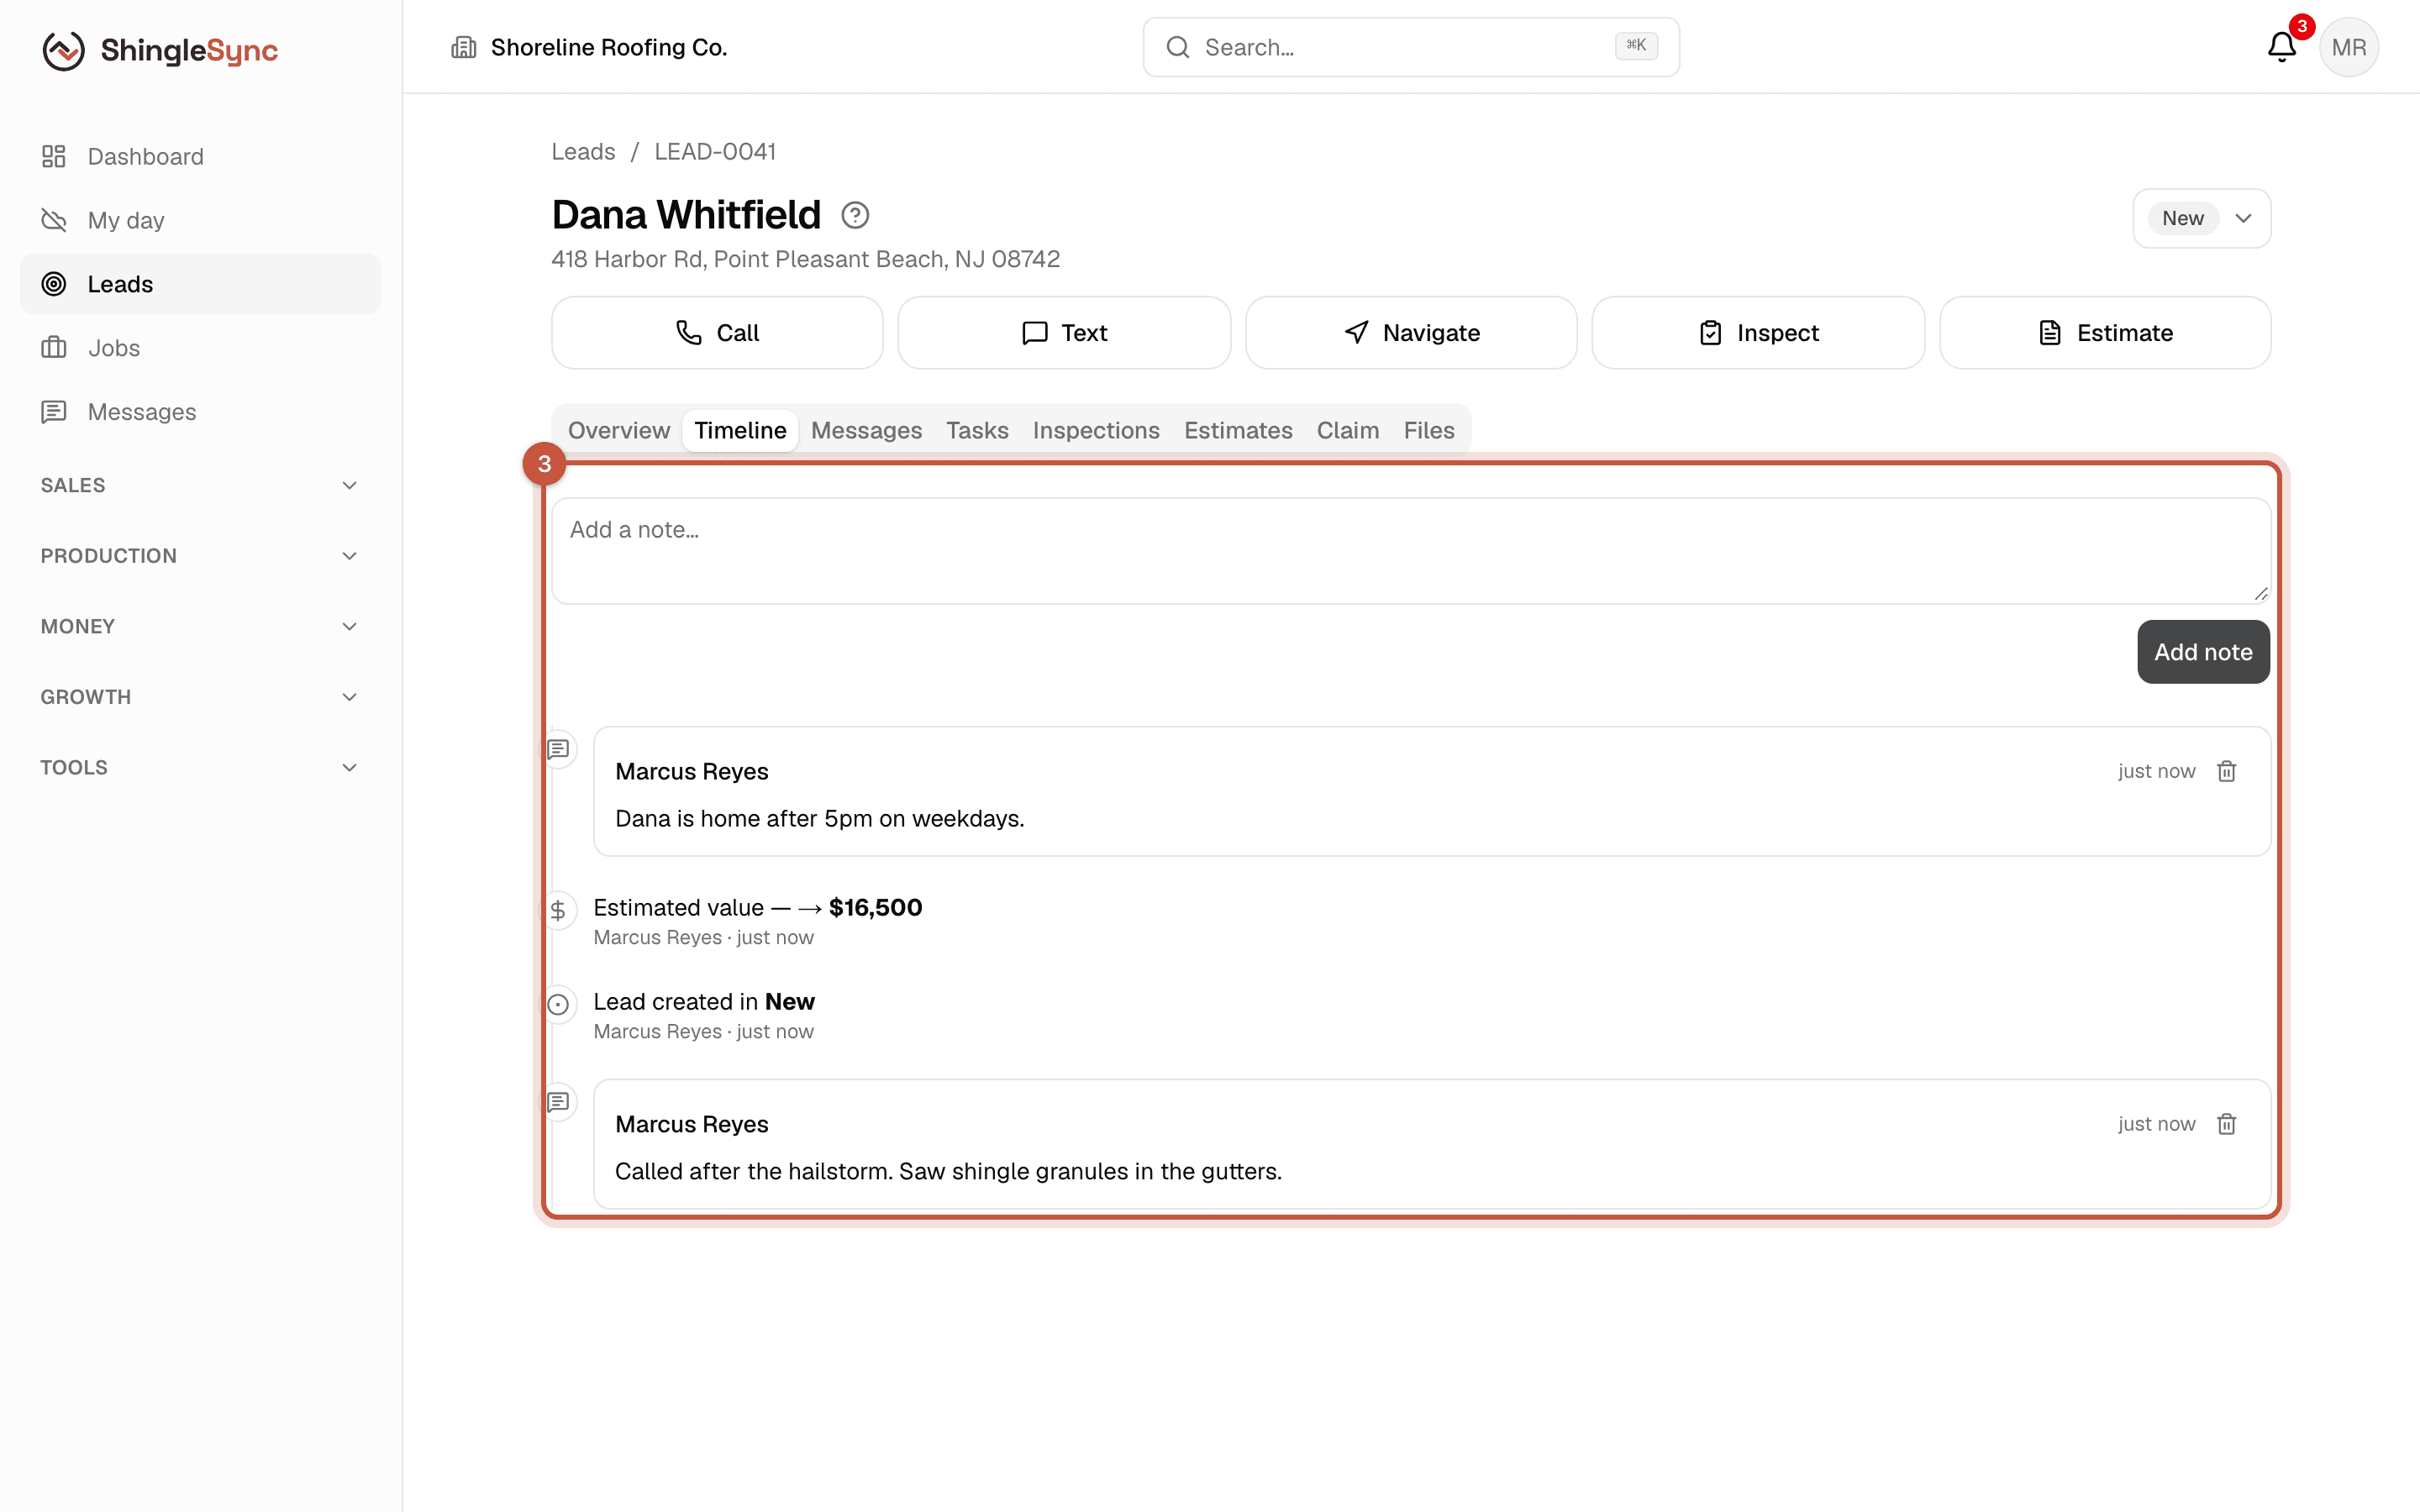
Who sees which leads: sales reps see every lead unless an owner or admin turns off Sales reps see all leads in Settings → Pipeline. Then each rep sees only the leads assigned to them.
Move a lead through the pipeline
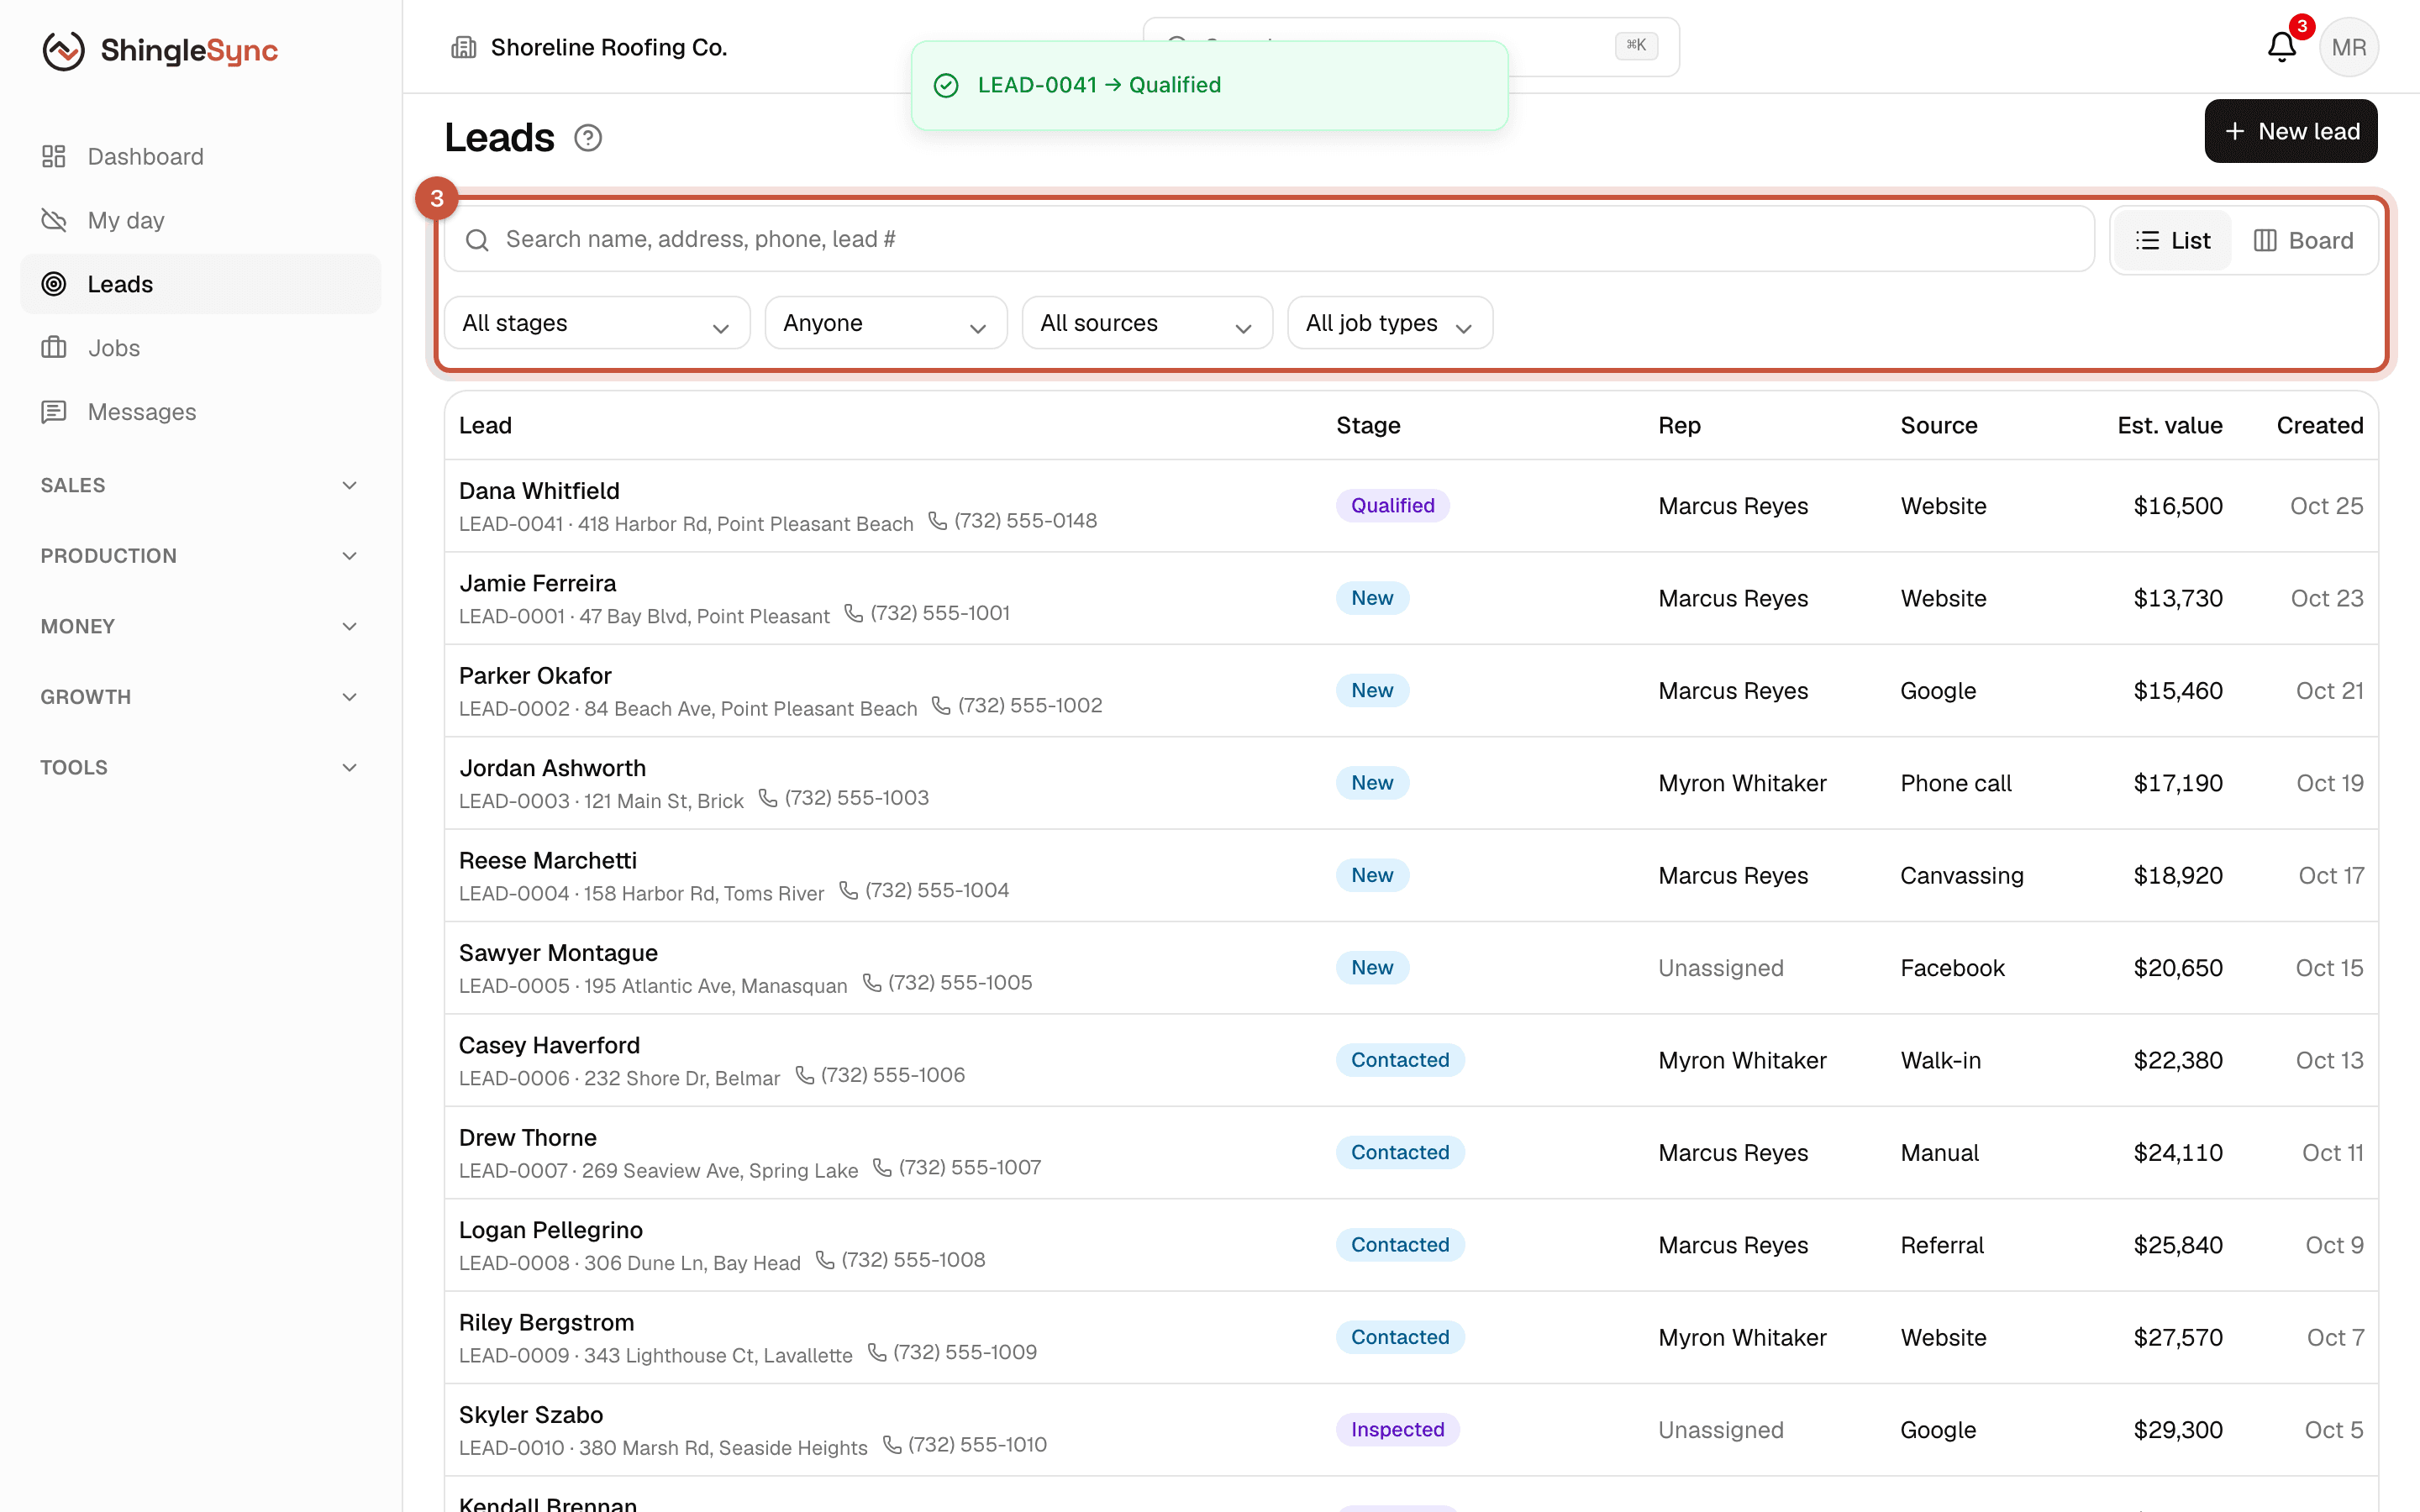
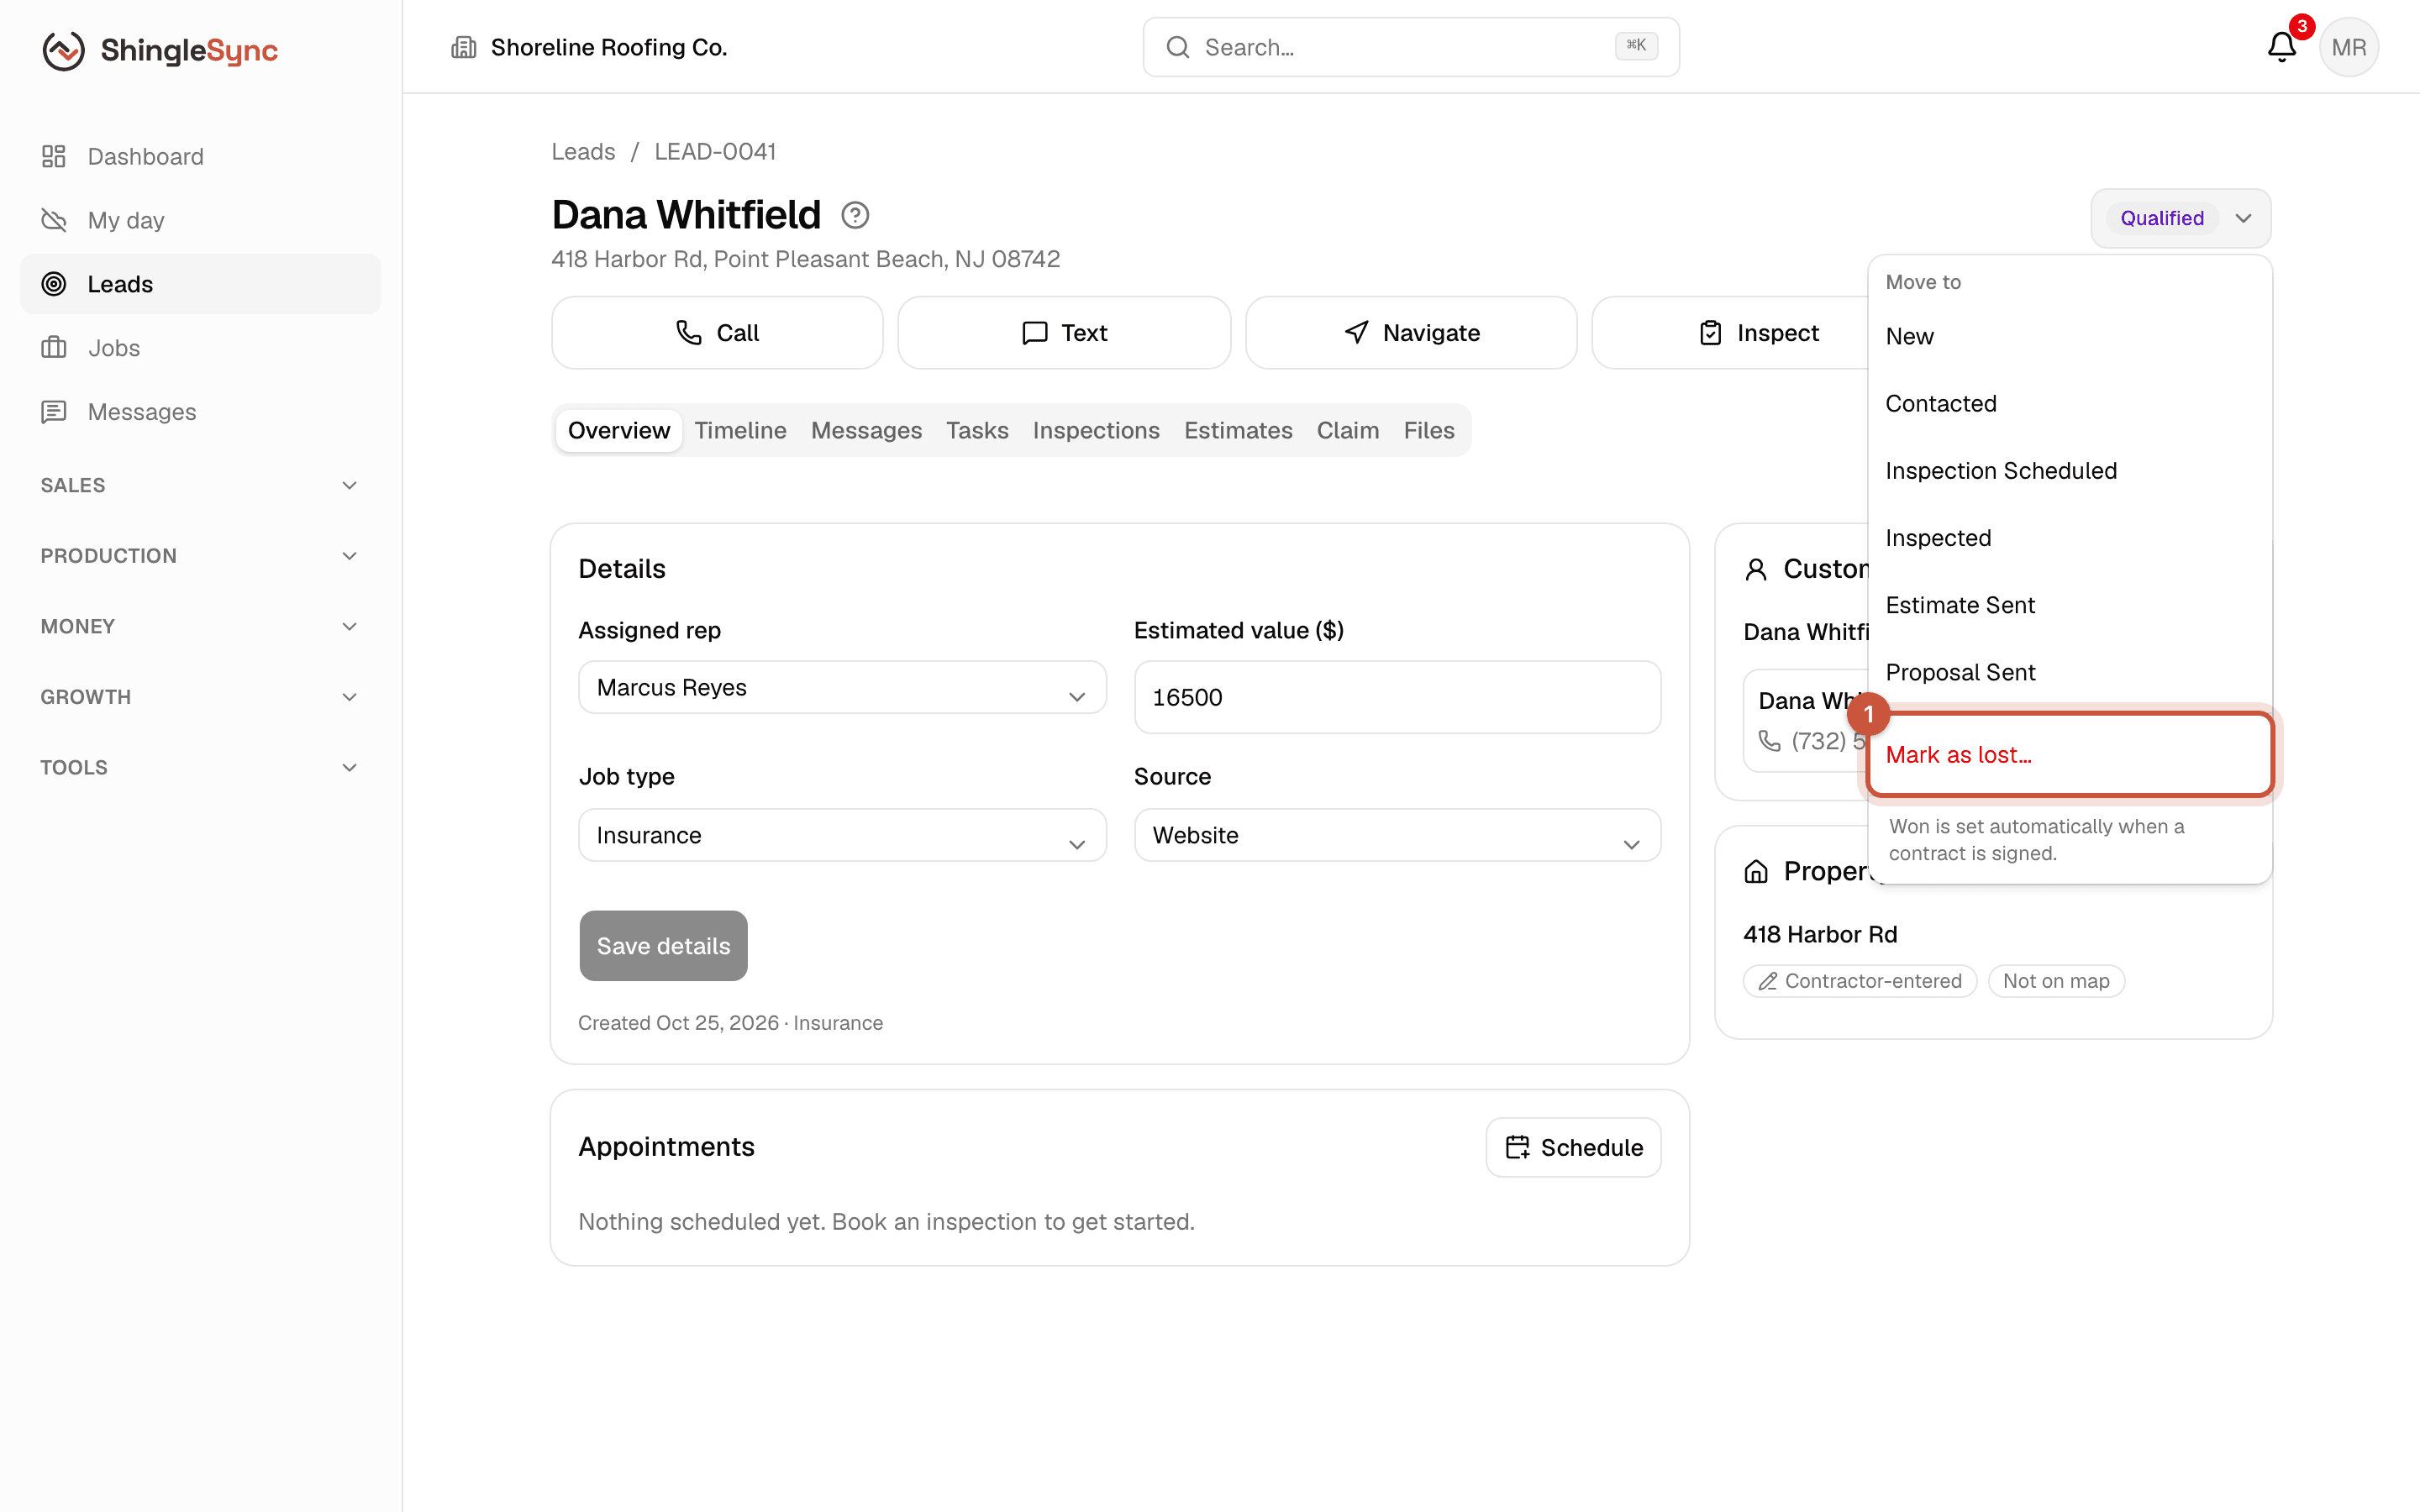
Every open lead sits in one stage of your pipeline. The stages start as New, Contacted, Qualified, Inspection Scheduled, Inspected, Estimate Sent and Proposal Sent, followed by Won or Lost. Owners and admins can rename and reorder them in Settings → Pipeline.
Some moves happen on their own: completing an inspection moves the lead to Inspected (chapter 4), and a signed contract moves it to Won (chapter 10).
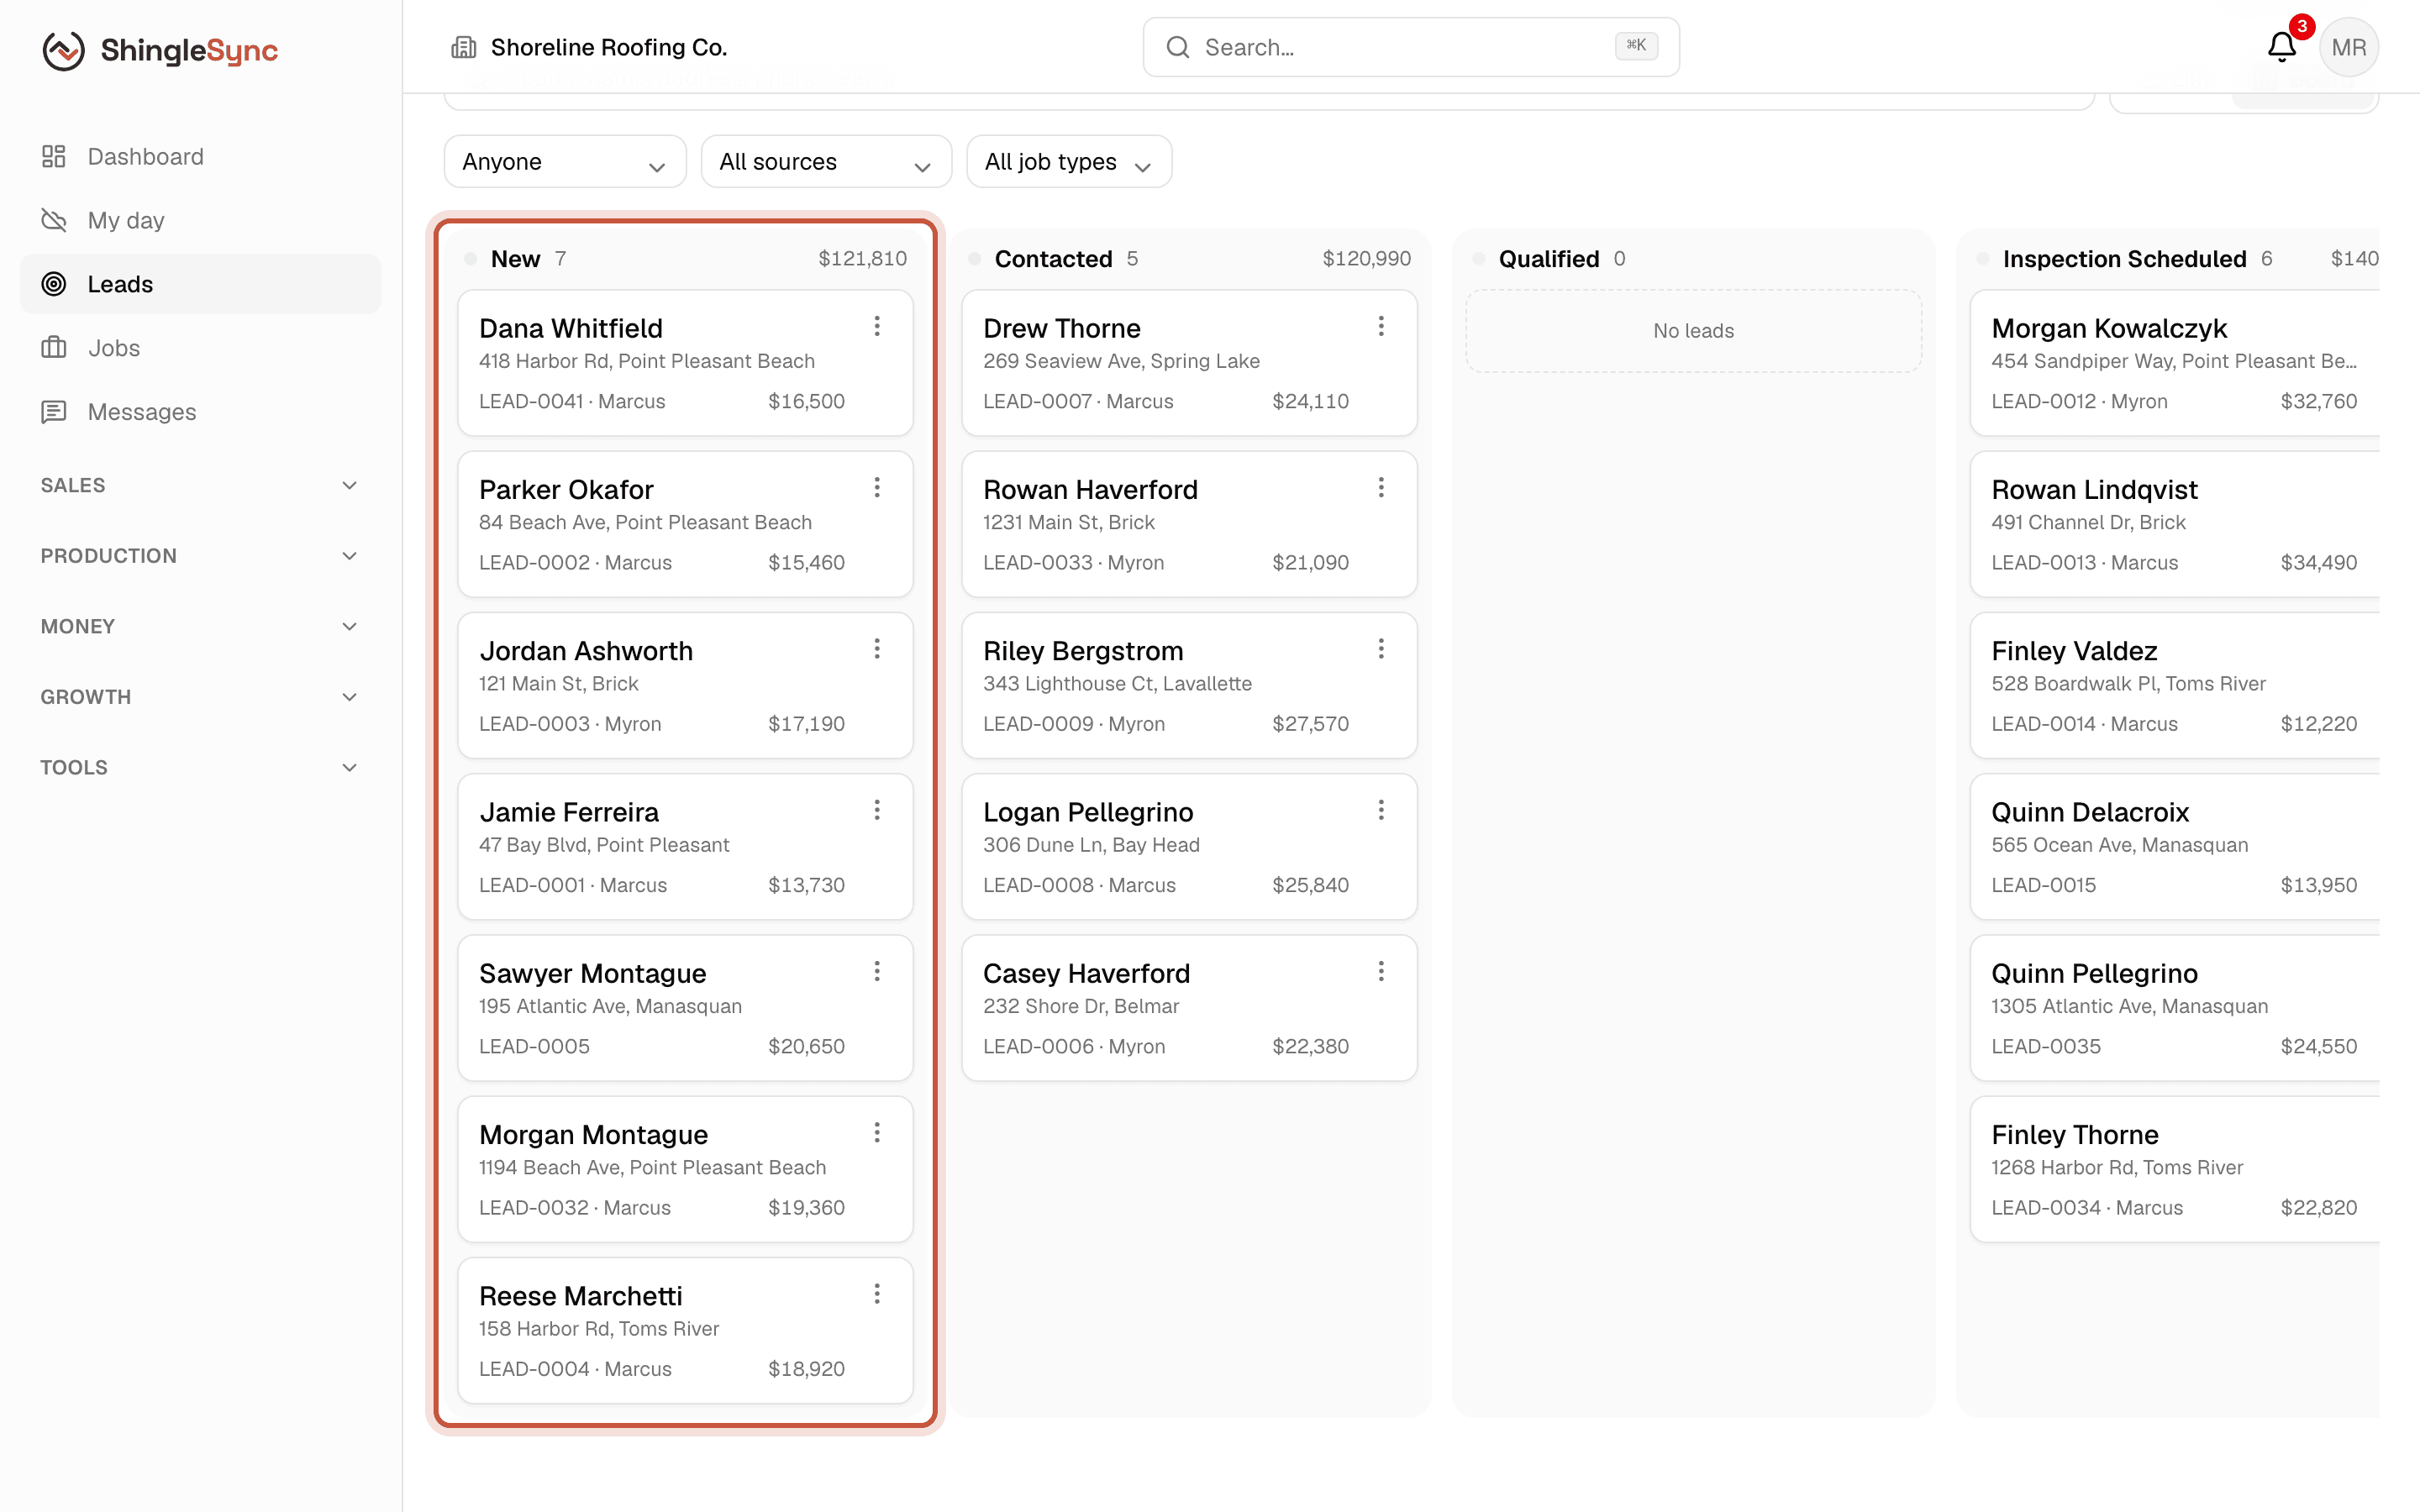
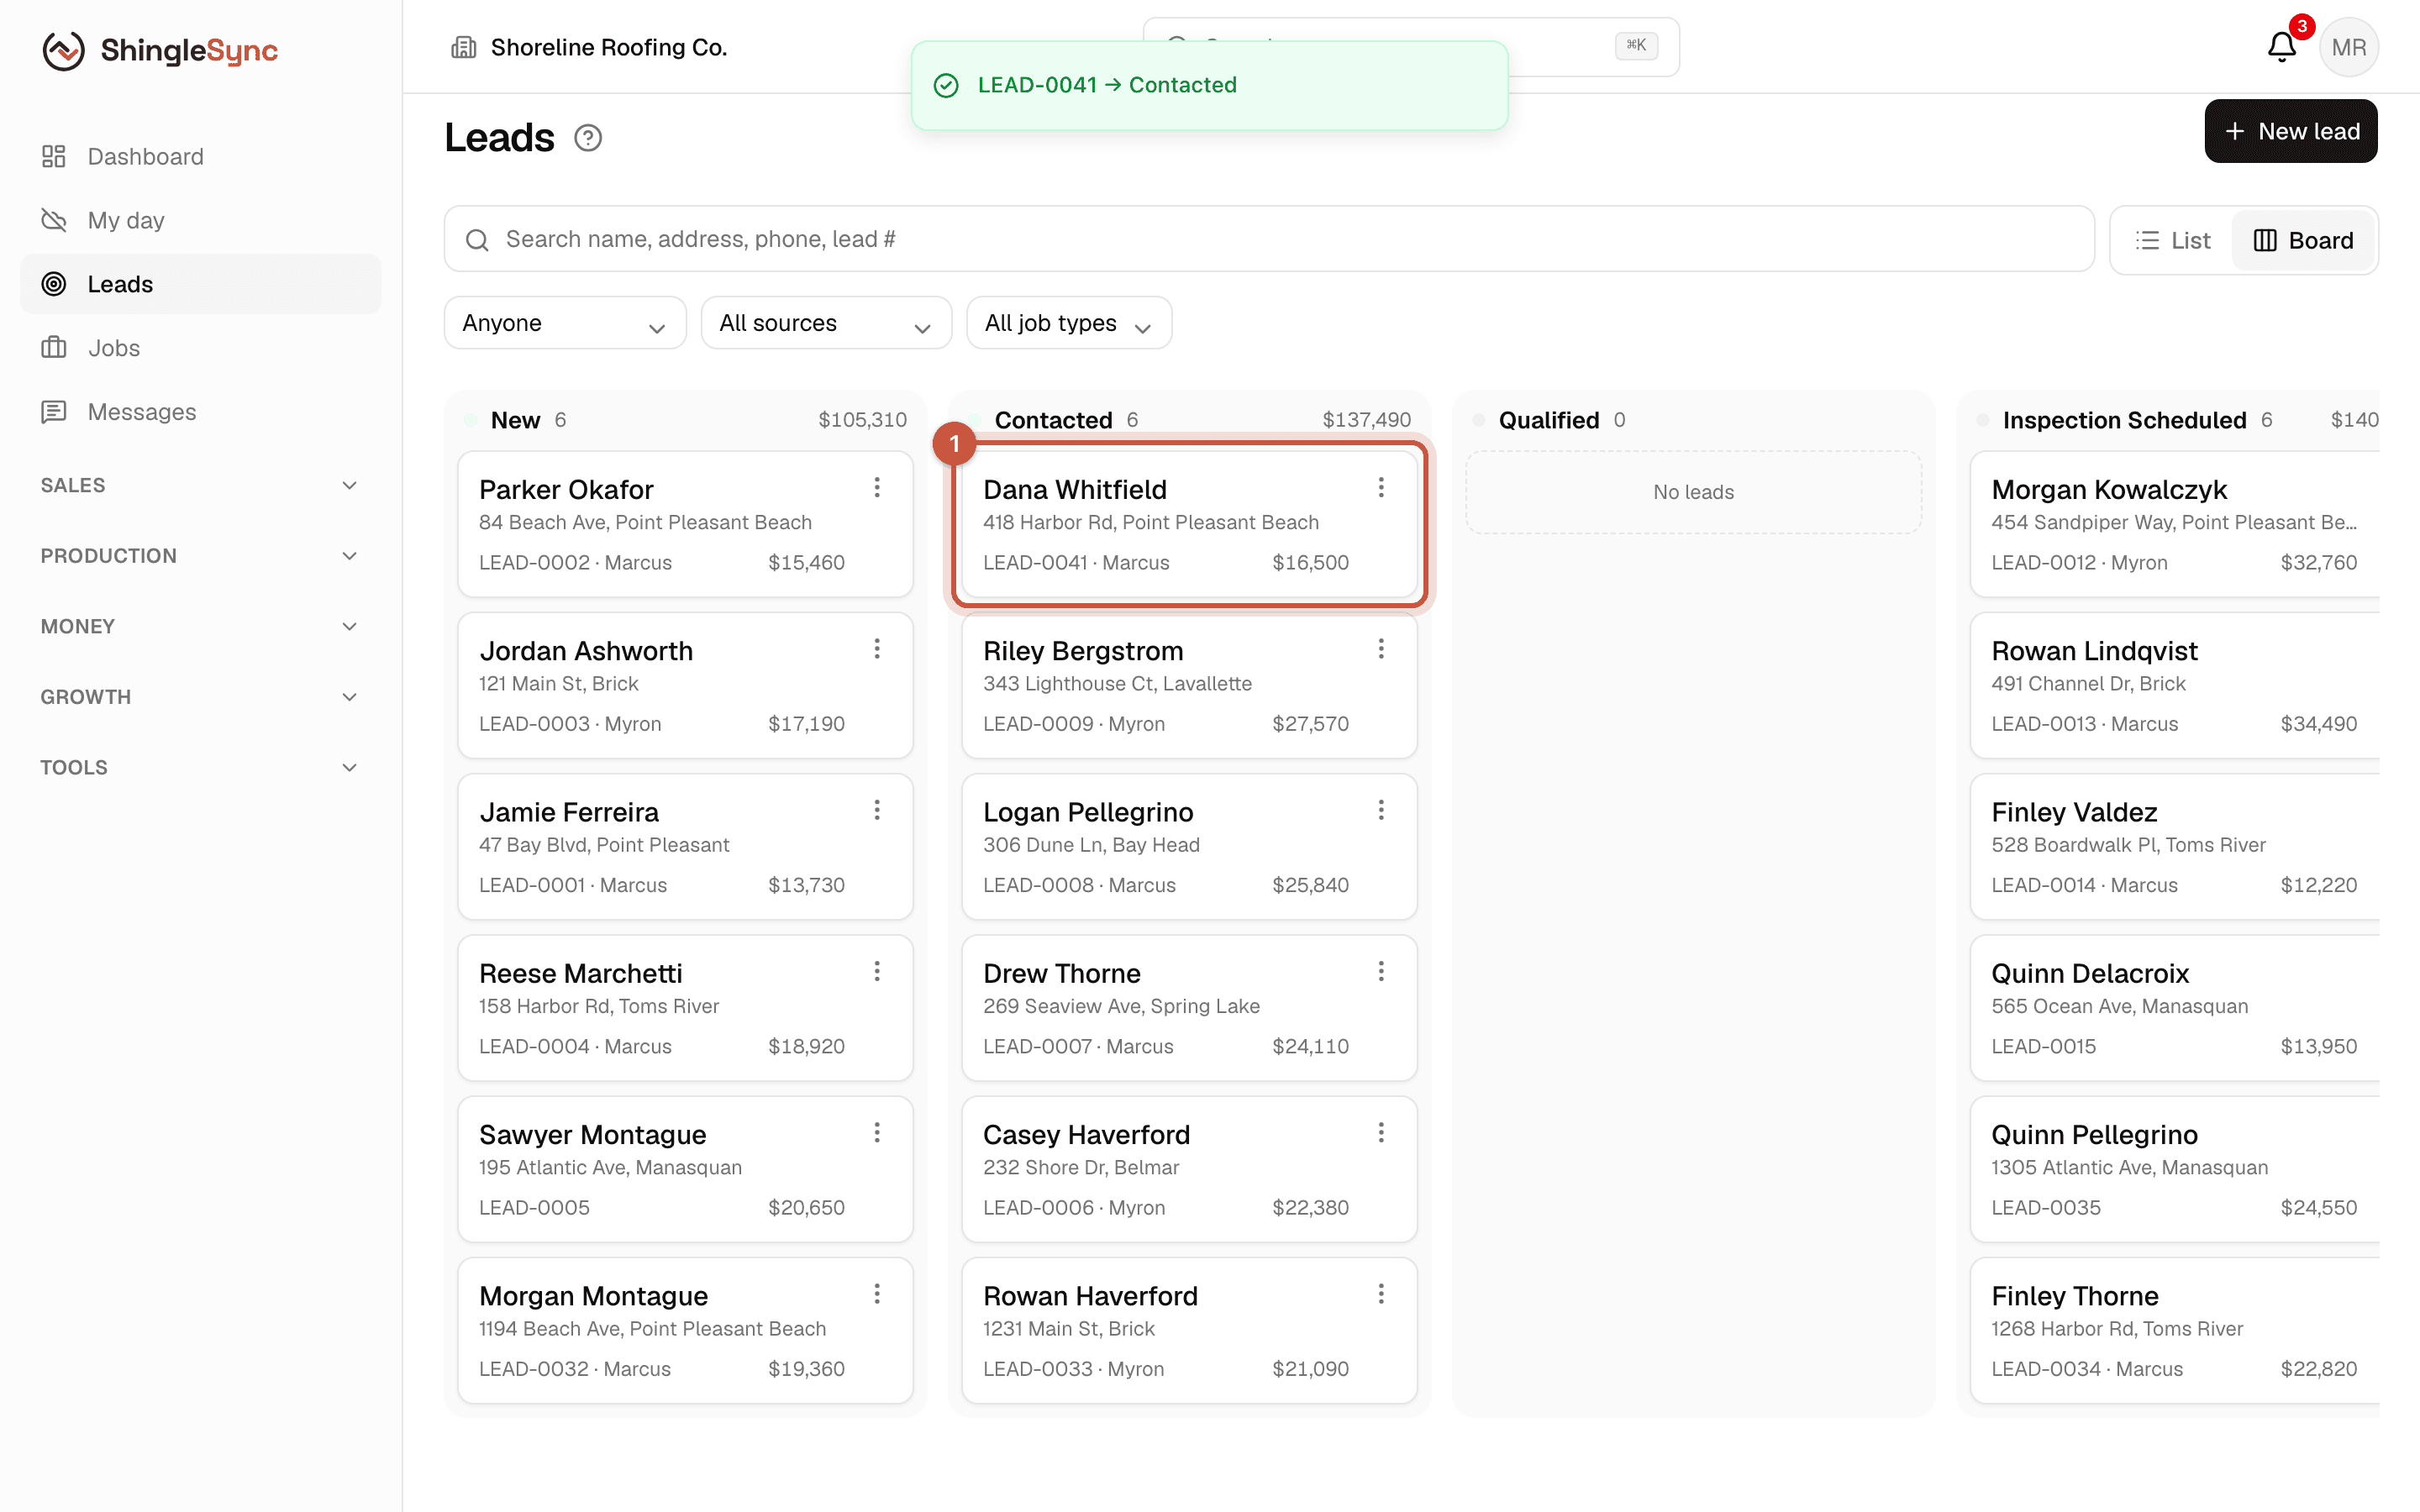
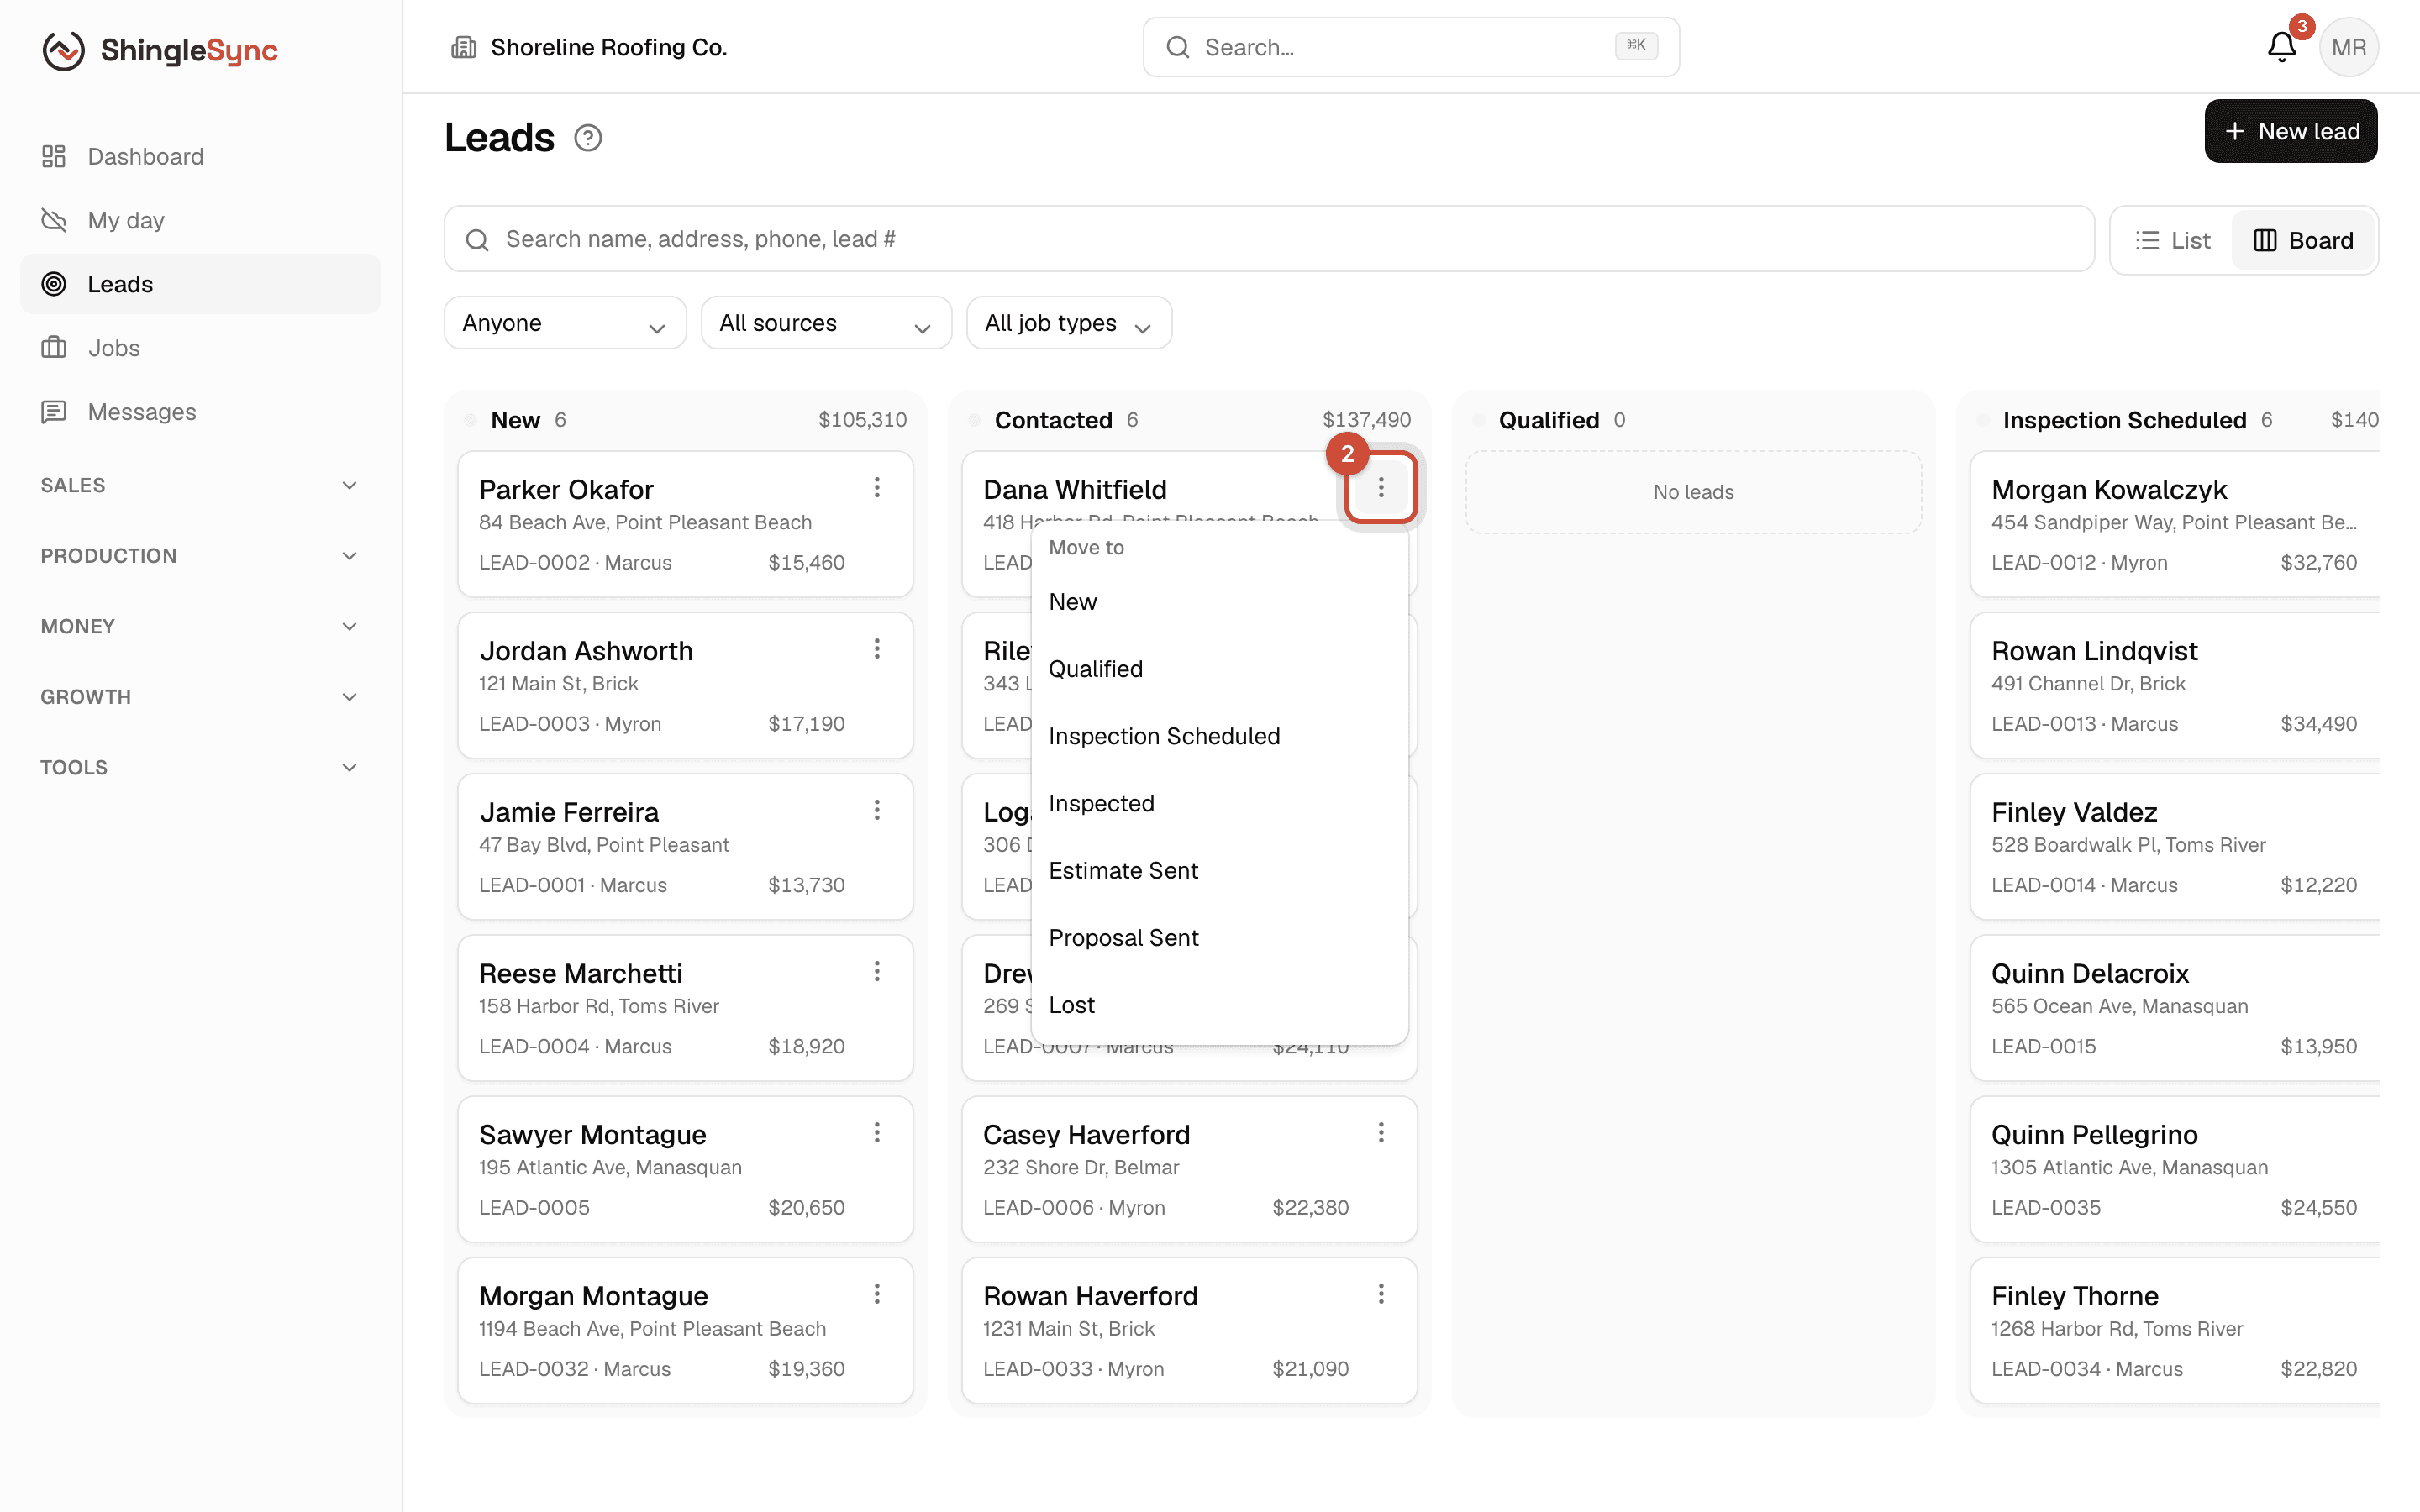
Mark a lead lost
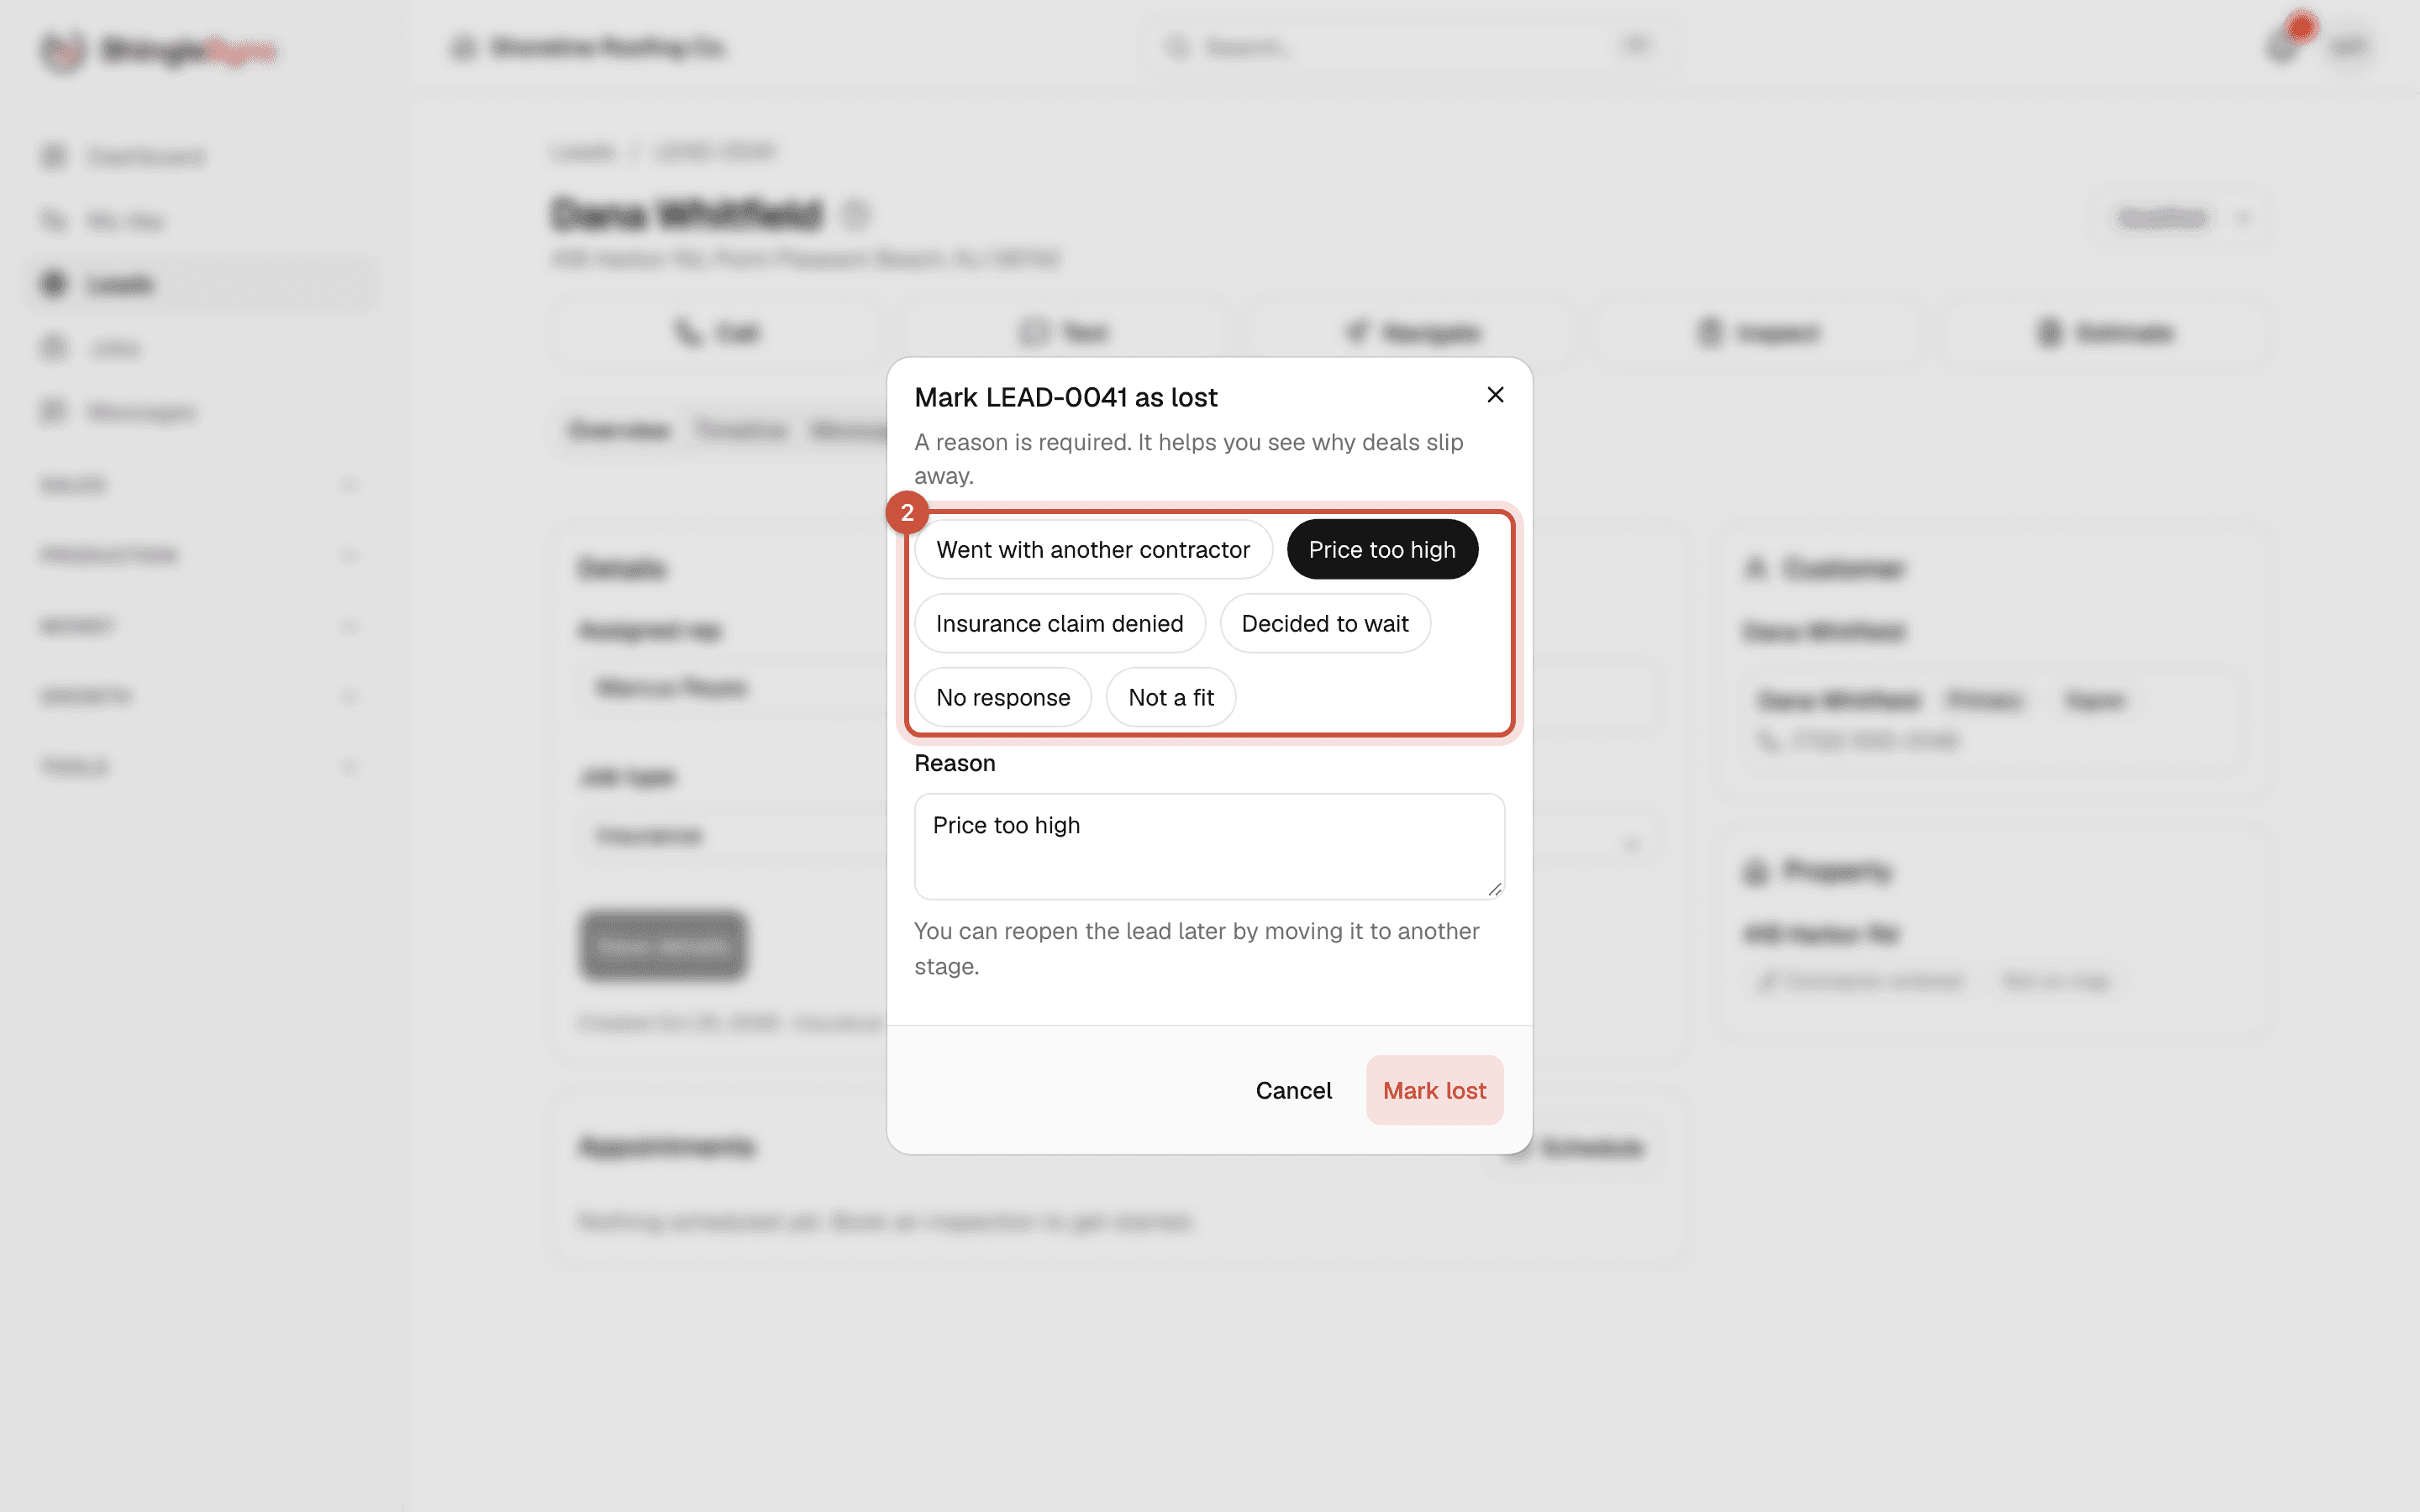
When a homeowner says no, mark the lead lost so it leaves your open pipeline. ShingleSync asks for a reason. Lost leads aren't deleted: filter the list by the Lost stage to find them again.
Other ways leads arrive
- Phone calls, walk-ins, your website, Google, Facebook and referrals: add the lead as above and pick the matching Lead source, so reports can show where your jobs come from.
- Canvassing and storm campaigns (Storm plan): leads created at the door or from a storm campaign keep a link to that storm and campaign. That's how ShingleSync shows what each storm brought in. They get their own chapters later.